Underwater photography can be broadly divided into categories such as wide-angle, macro, blackwater, and portrait. Generally speaking, most people start with macro photography — partly because the subjects are relatively straightforward (nudibranchs move pretty slowly, haha), and partly because the lighting setup is simpler. Unlike wide-angle, which relies on multiple strobes and wide-angle lenses, macro has a lower barrier to entry for newcomers to underwater photography. On top of that, the Olympus TG-5 has been a blessing for many divers, allowing them to experiment with macro photography on a relatively modest budget.
Macro Photography — Black-Background Shots
Once you start shooting, however, you quickly realize that capturing a photo with real quality requires more than just knowing your subject — knowing how to use your lights is an art in itself. The most common technique in macro photography is the black background look: by controlling how light falls on the subject, you create a bright subject against a pitch-black background, making the subject pop. Traditionally, achieving a black background involves using a strobe paired with an LSD (Light Snoot Diffuser) kit, but the cost and bulk of that gear can be off-putting for beginners. This time, the Editor is sharing thoughts on using the Bubblescuba BB-S1 continuous light source to shoot black-background macro photos.
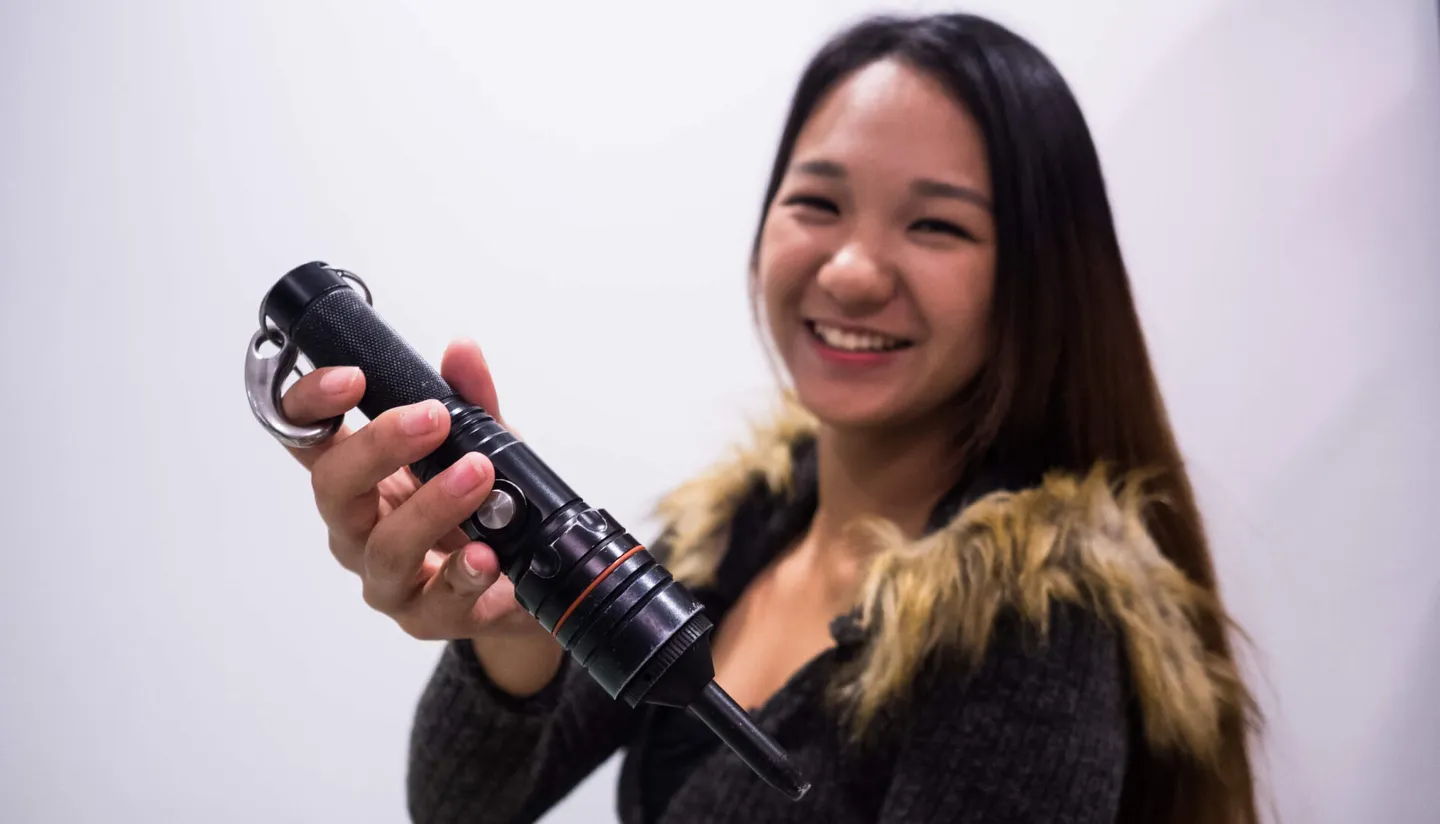
The Bubblescuba BB-S1 has a remarkably compact form factor
Bubblescuba BB-S1 Features
Let's start with the Bubblescuba BB-S1's design. This Flash Light is impressively compact, powered by a single 18650 battery, and controlled by just one button — a long press adjusts the brightness level. It couldn't be simpler to operate! Now let's compare its size against a typical everyday Flash Light.
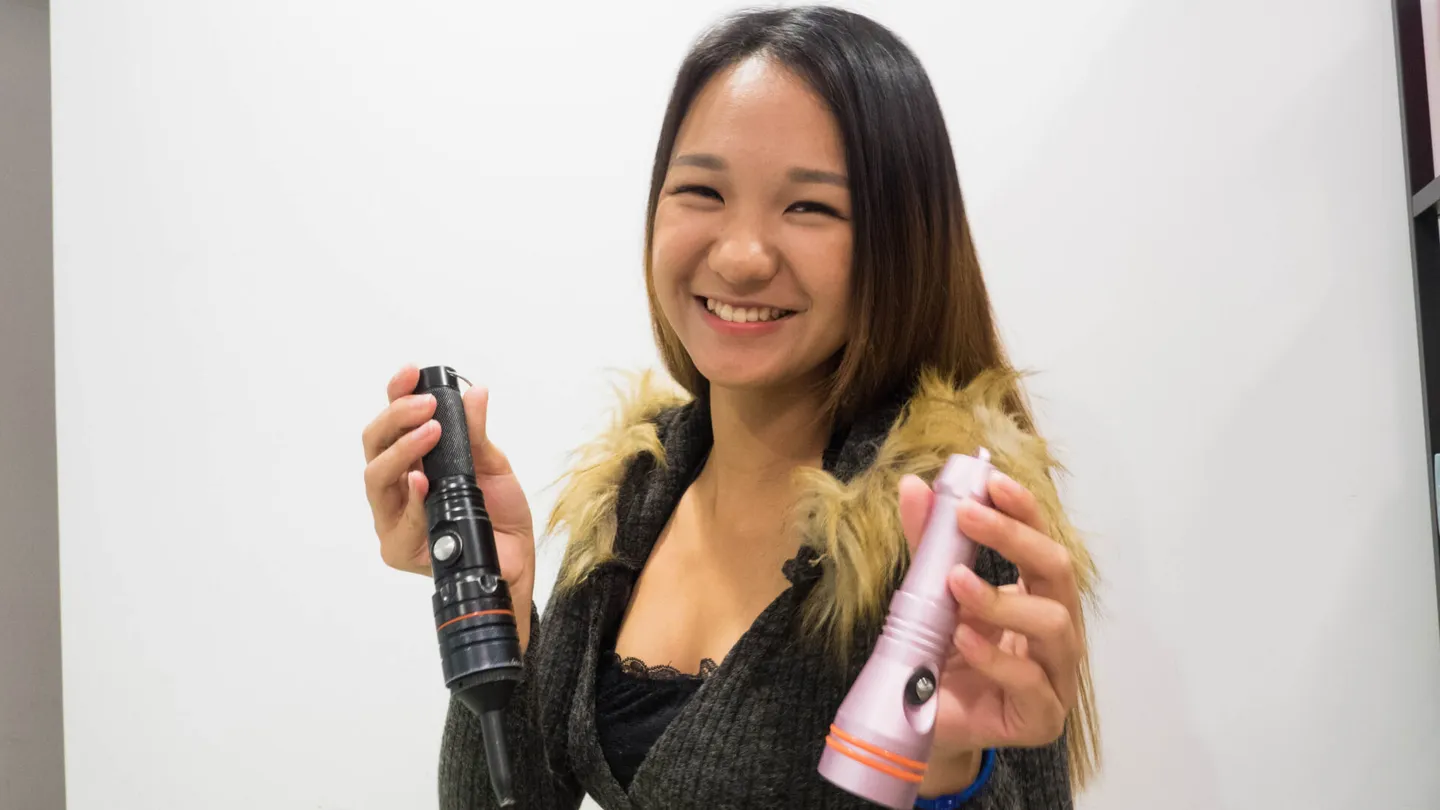
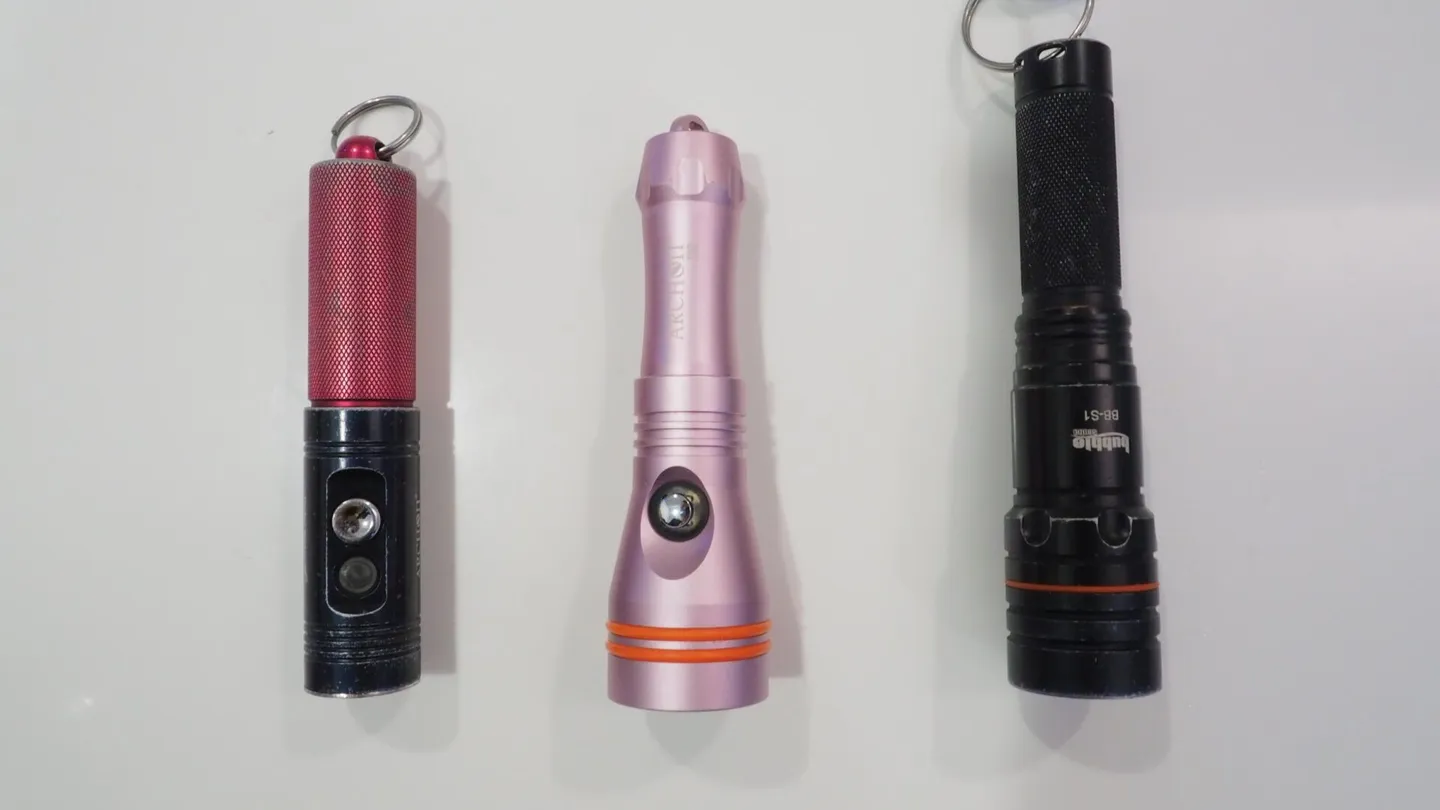
From left to right: AOI V10S, S10, and Bubblescuba BB-S1
The Bubblescuba BB-S1 comes with a focusing snoot attachment that concentrates the beam into a tighter spot. Apparently, the manufacturer has recently released an upgraded version — the BB-S1 PRO — which uses a condensing lens to focus the light even more efficiently. The resulting light spot is said to be the sharpest on the market, with an EV16 light output level, meaning you can shoot at shutter speeds around 1/100 and apertures of f/16–f/18, making it ideal for ultra-crisp macro shots.
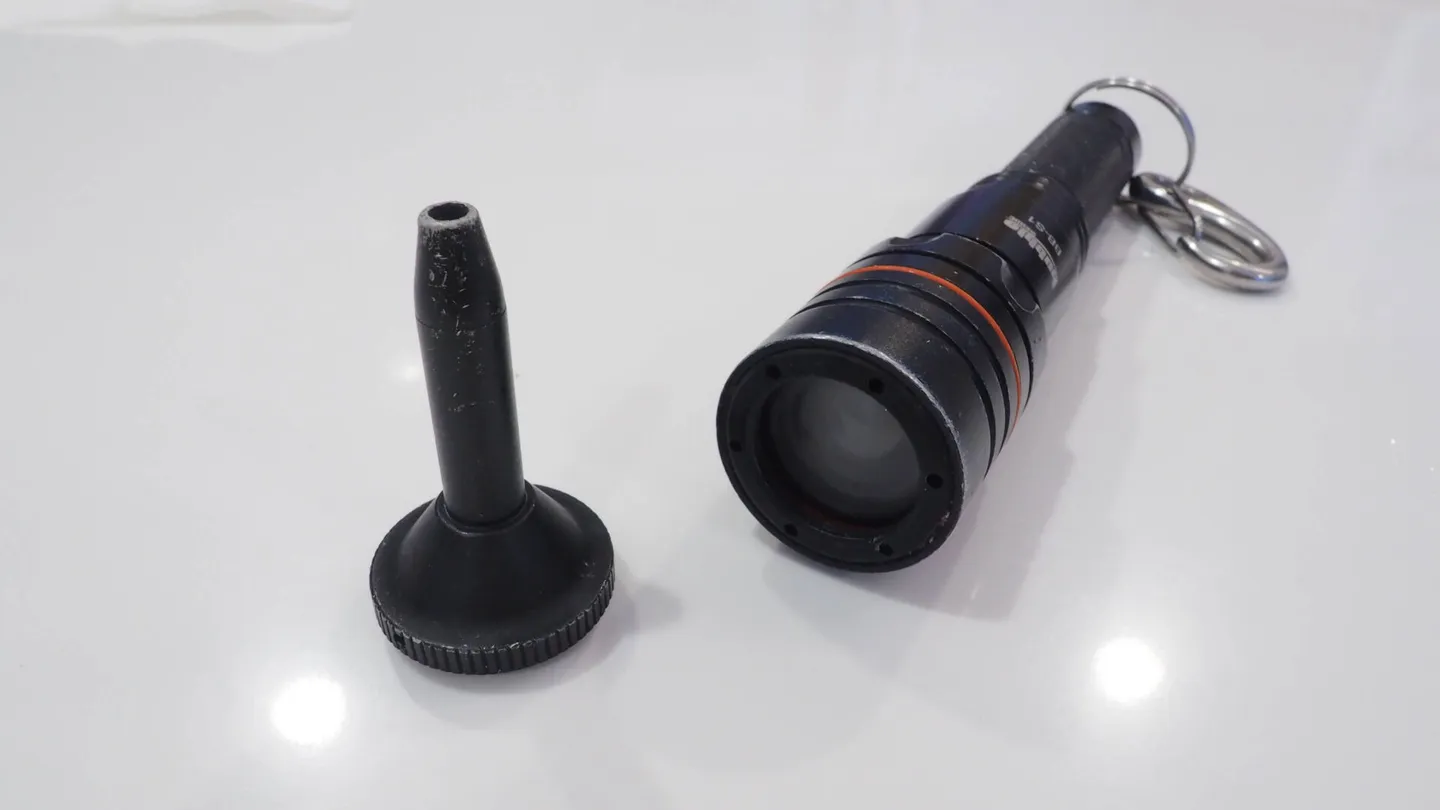
Bubblescuba BB-S1 with the focusing snoot attachment
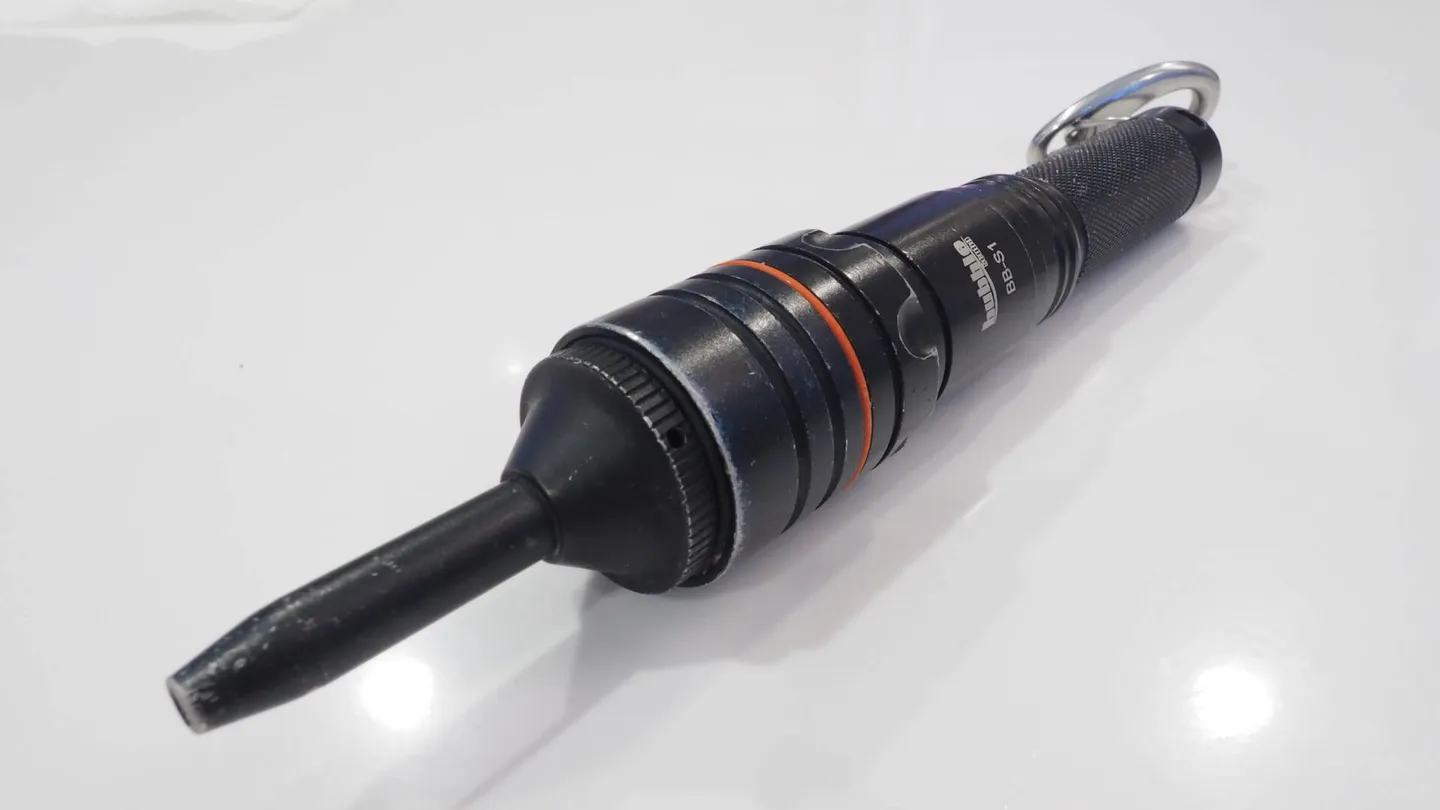
The light with the snoot attachment fitted
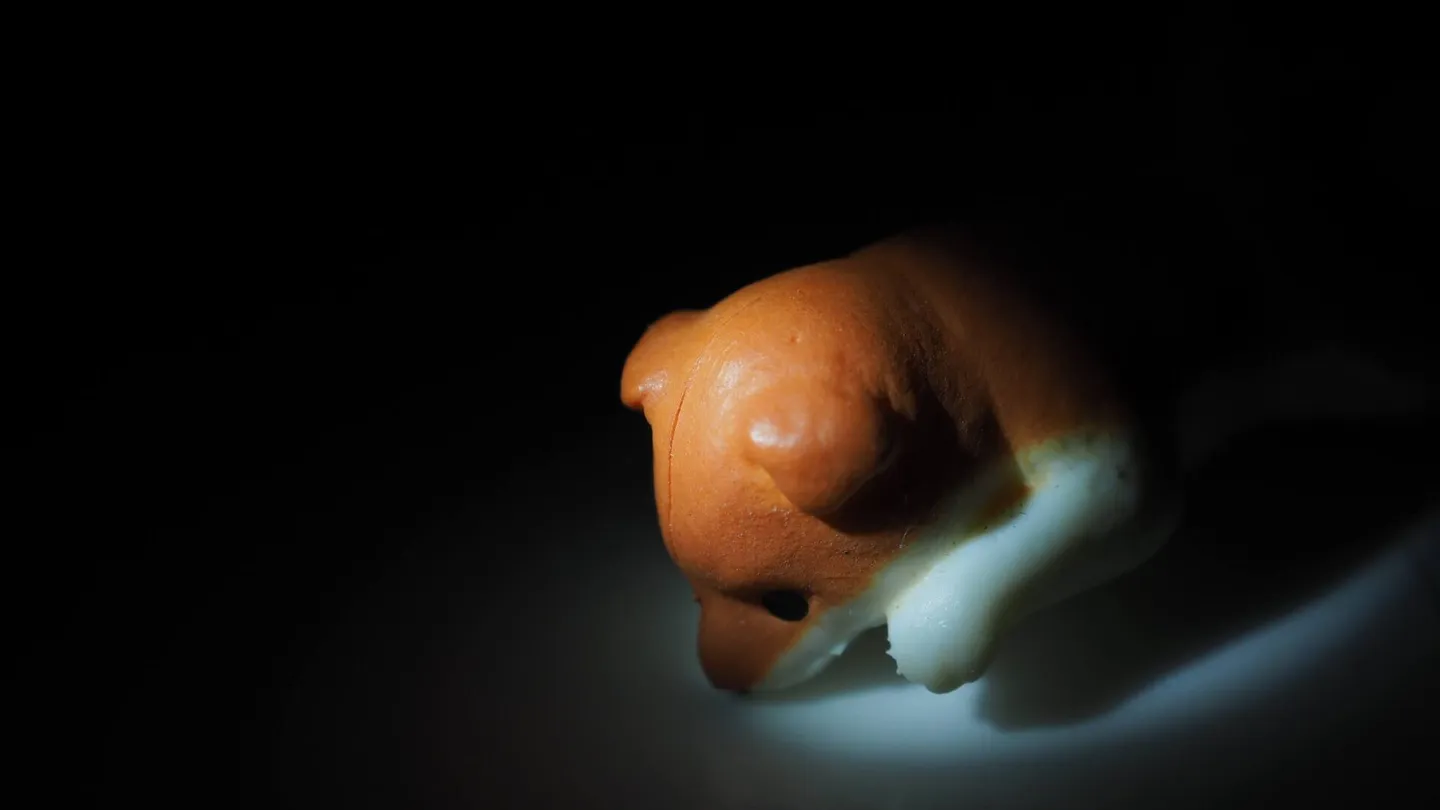
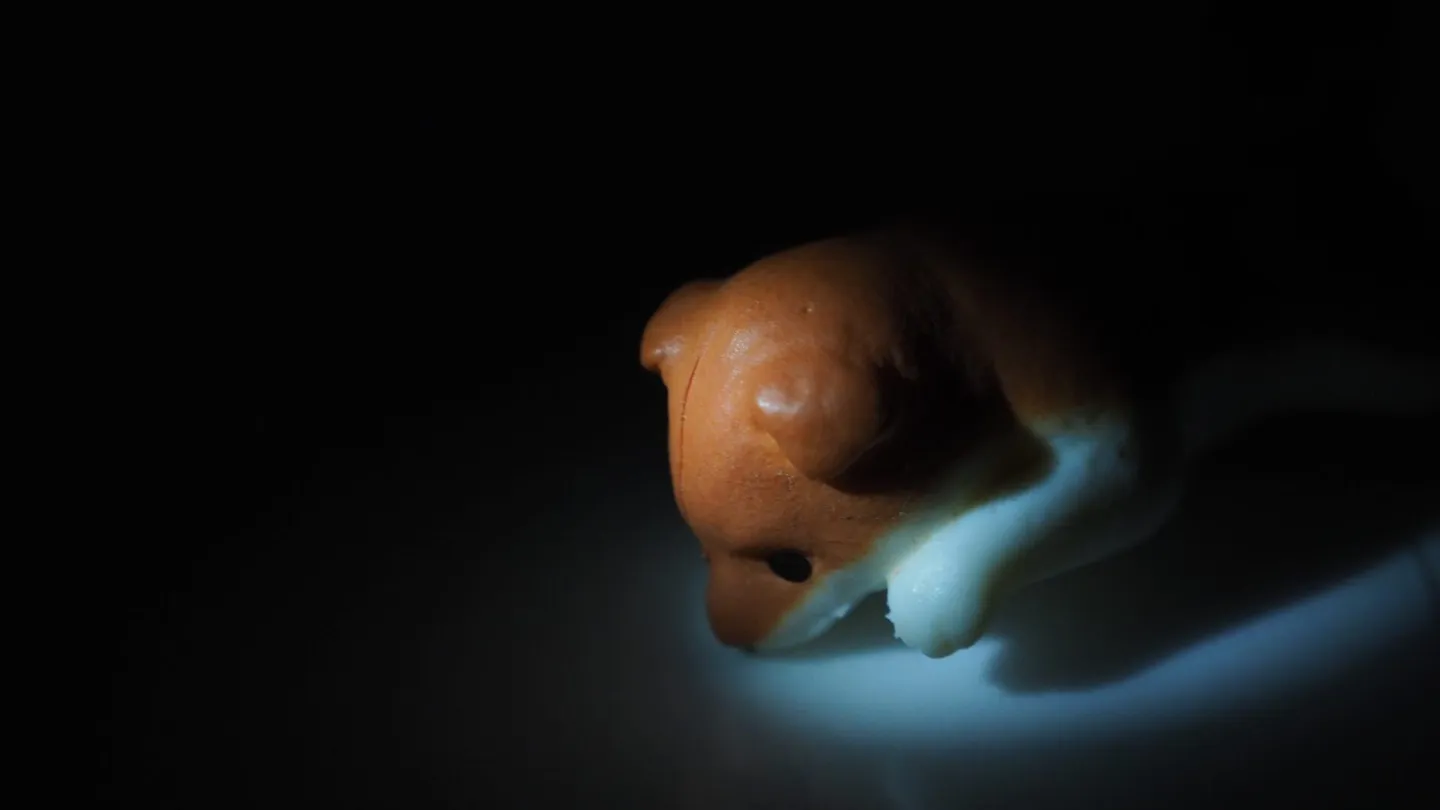
Now let's take a look at the effect of the focusing snoot. In the photos below, the Bubblescuba BB-S1 is held approximately 10 cm above a table surface, with a Shiba Inu figurine about 2 cm in size placed on the table for reference. You can clearly see how fitting the snoot attachment concentrates the beam into a tighter point (underwater, the surrounding halo is reduced even further, making it even more focused).
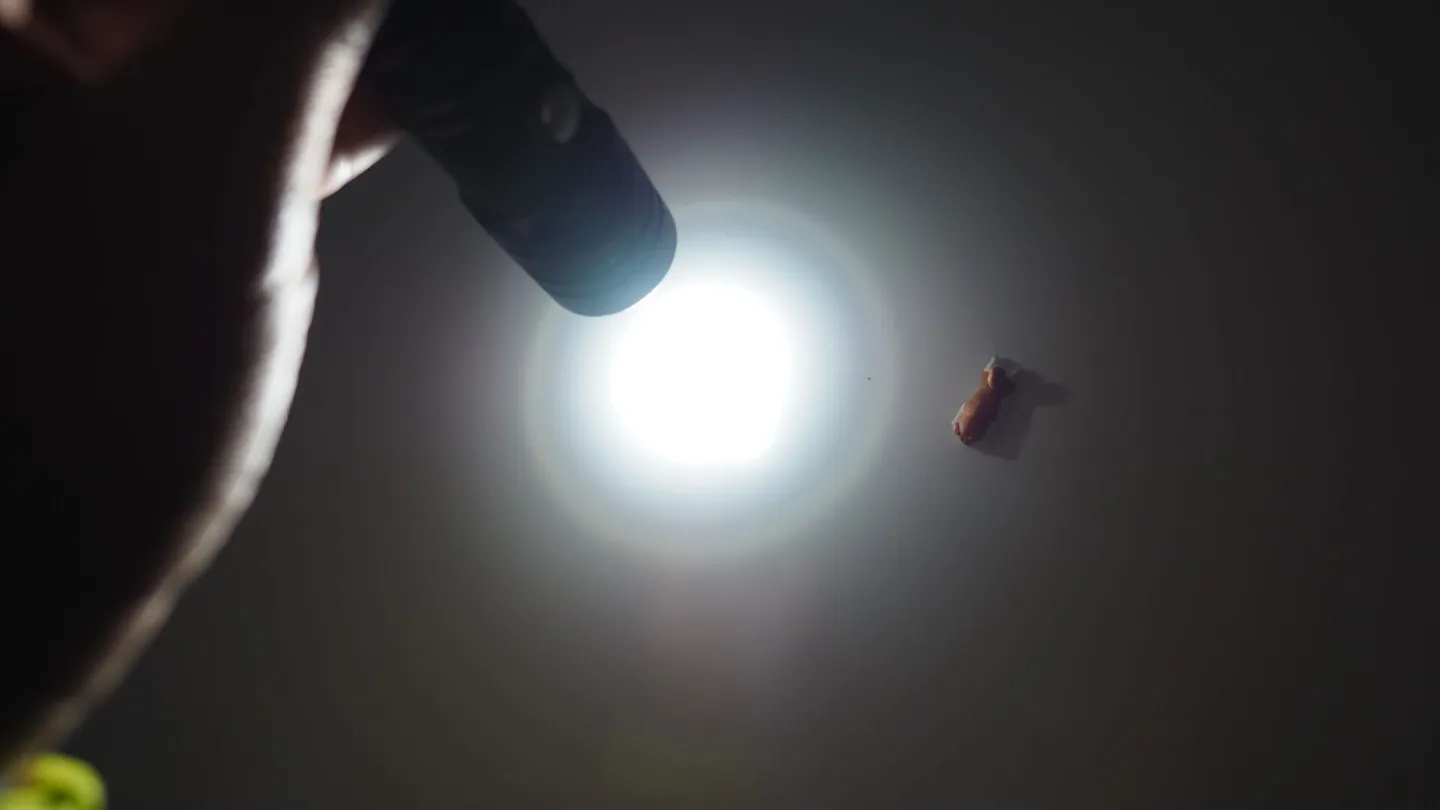
Without snoot, 10 cm from the surface
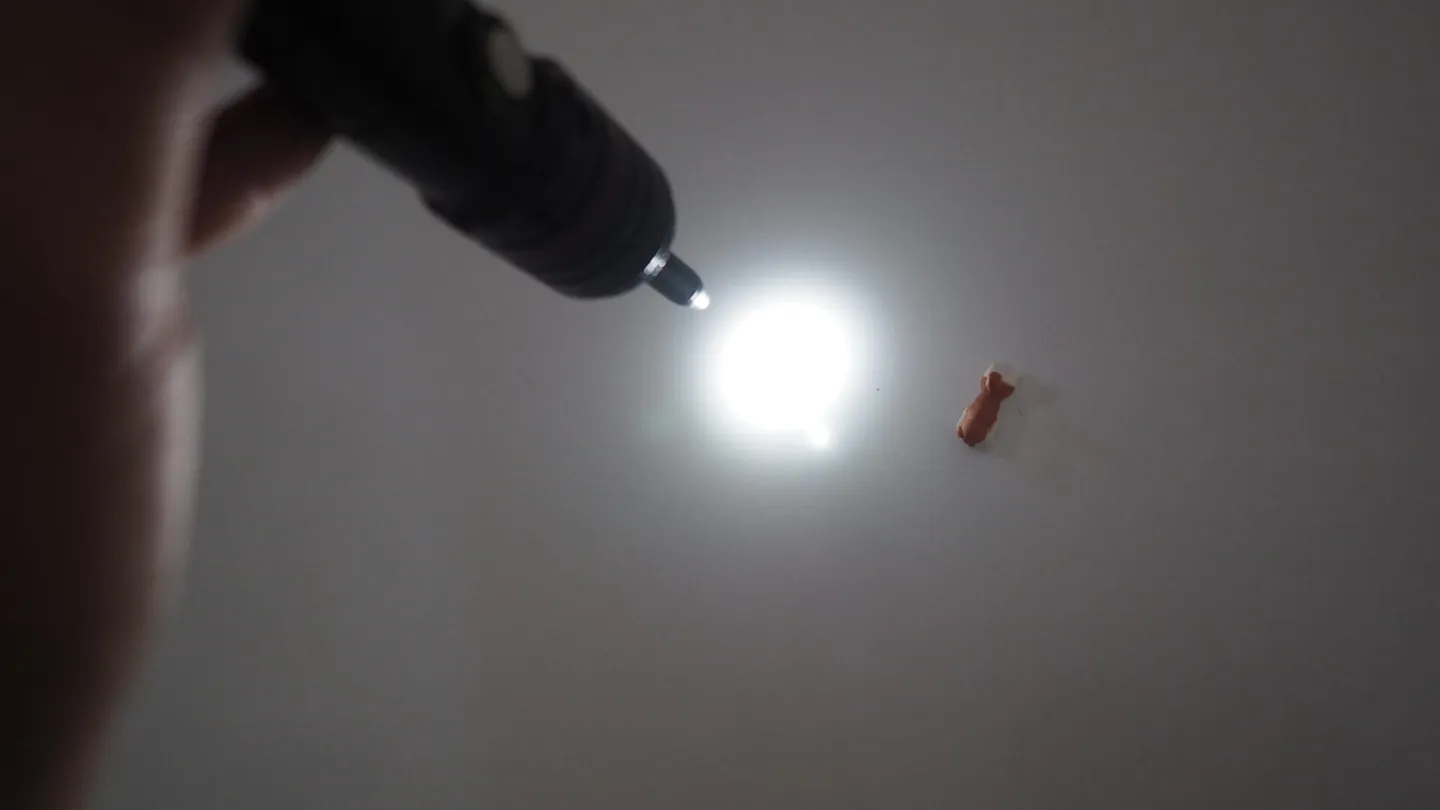
With snoot attached, 10 cm from the surface
Next, let's have a look at the superb light-spot performance of the Bubblescuba BB-S1 PRO. Looks like the money in my wallet is about to make a run for it!
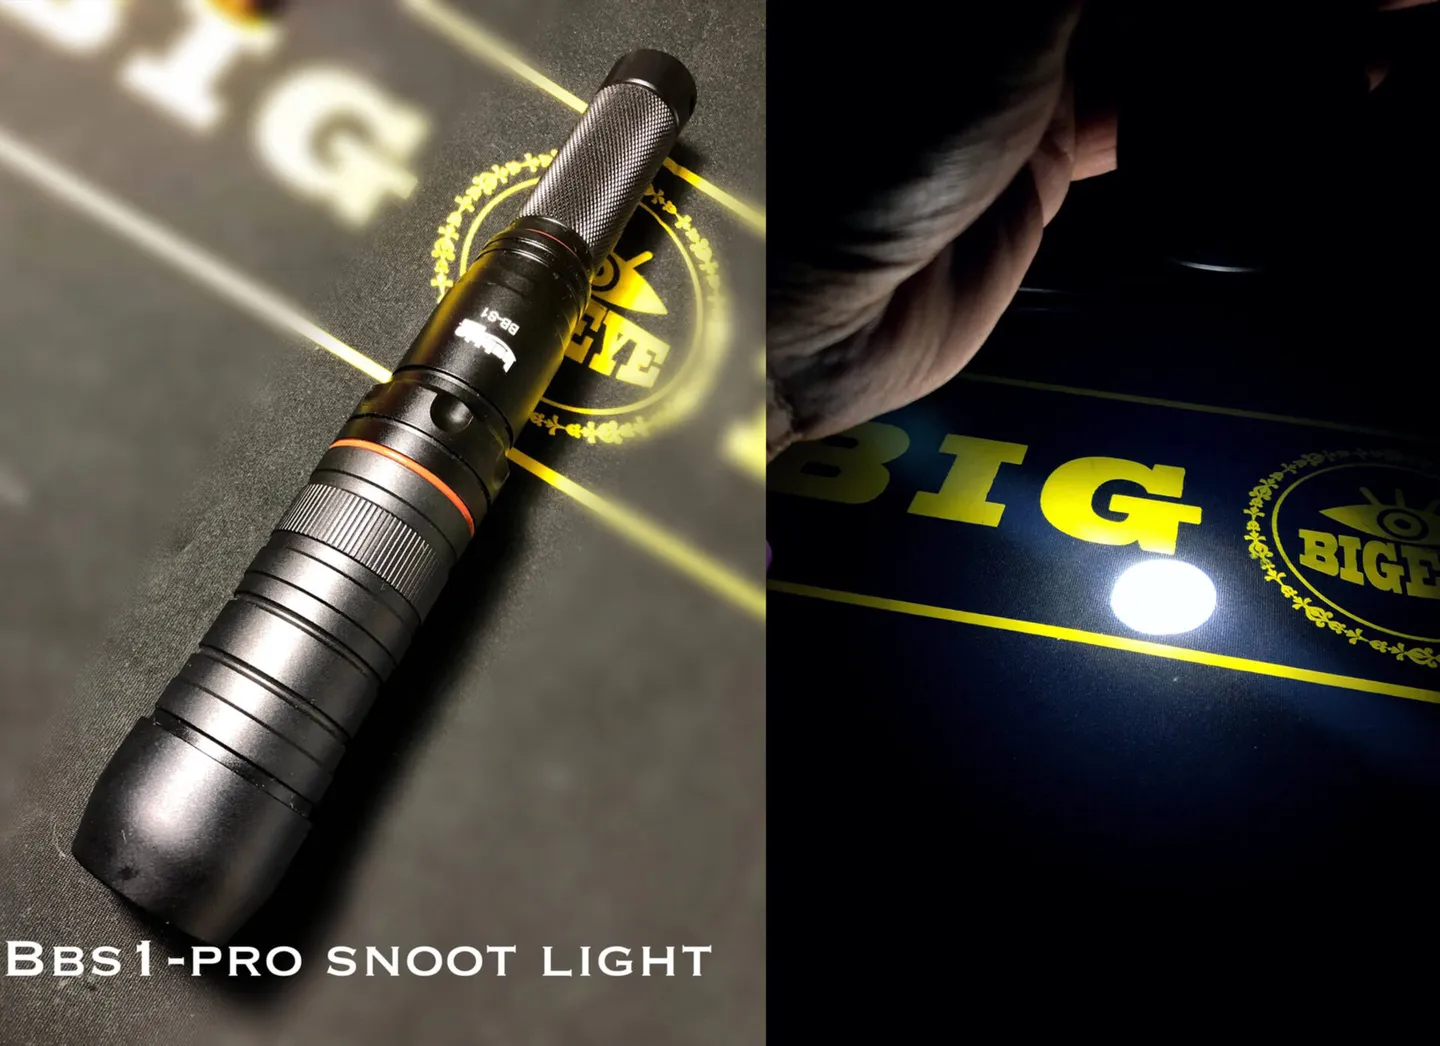
The exceptional light-spot performance of the Bubblescuba BB-S1 Pro
After the hardware overview, let's see just how easy the Bubblescuba BB-S1 makes it to shoot black-background photos. As mentioned above, a long press of the button controls brightness. The two photos below compare the maximum and minimum brightness settings. The Editor used an Olympus OM-D E-M5 Mark II paired with the OLYMPUS M.ZUIKO DIGITAL ED 12-50mm f/3.5–6.3 EZ in macro mode.
Maximum brightness
Minimum brightness
Bubblescuba BB-S1 — Black-Background Shooting Tips
Getting a black-background shot with the Bubblescuba BB-S1 is actually quite straightforward. Here are the Editor's camera settings:
-
ISO: 200
-
EV: -0.7 to -2.0
-
EPS: spot focus
-
Aperture: f/8
Because the Bubblescuba BB-S1 is so compact, you can position it at different angles to create a variety of moods — but nail that black-background look and you're already halfway there, haha!
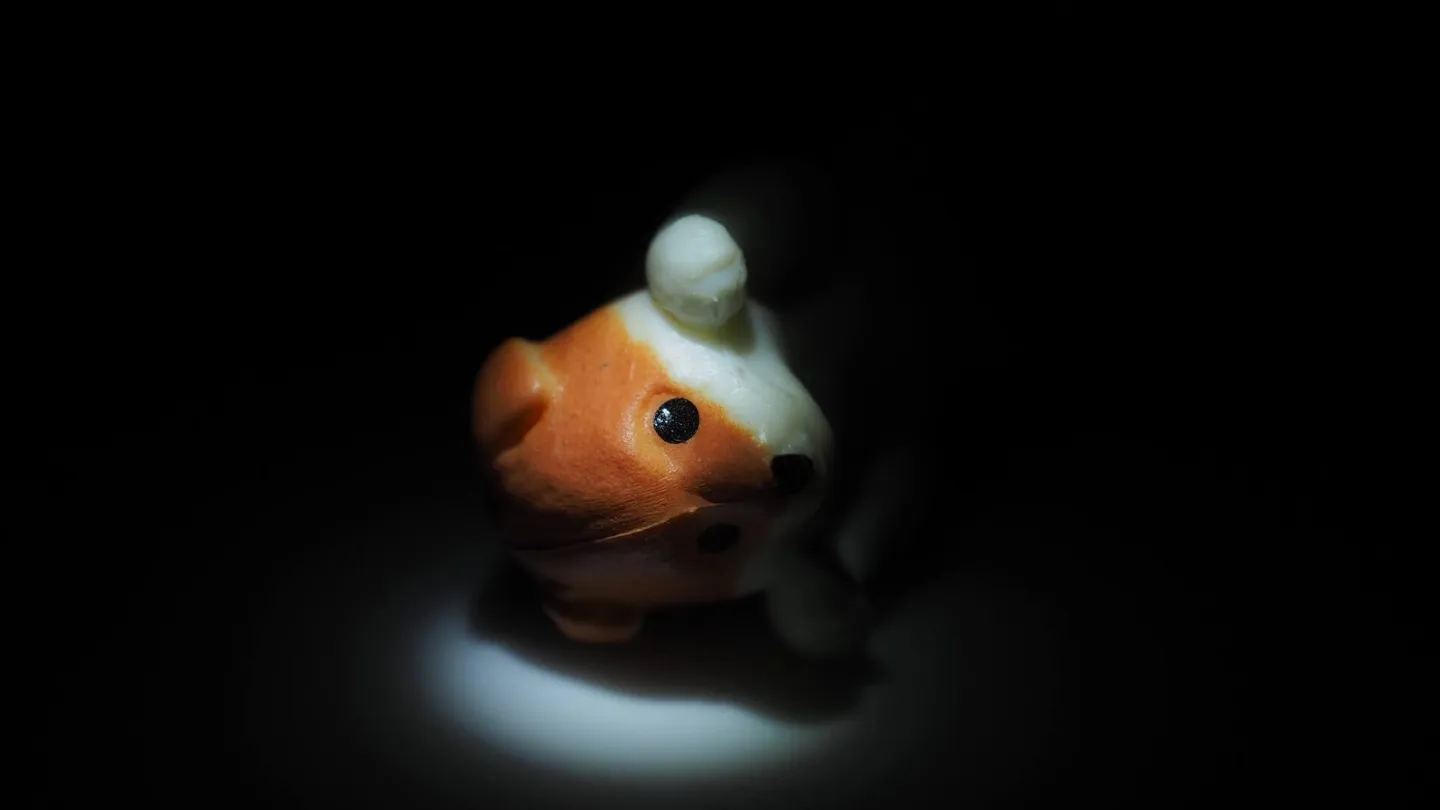
Bubblescuba BB-S1 placed directly above the subject, shooting with top lighting
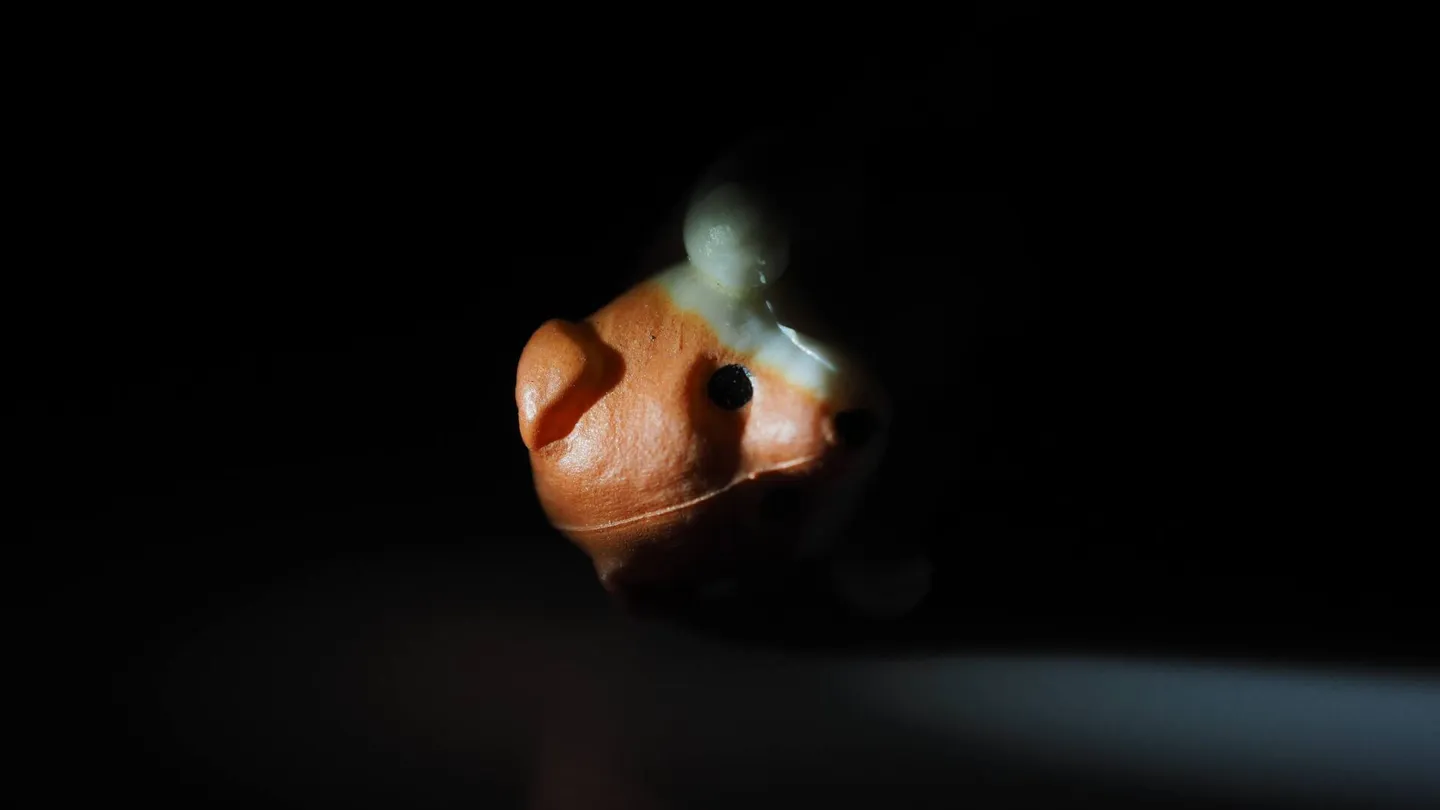
Side lighting to create a bright-left, dark-right sense of depth and dimension
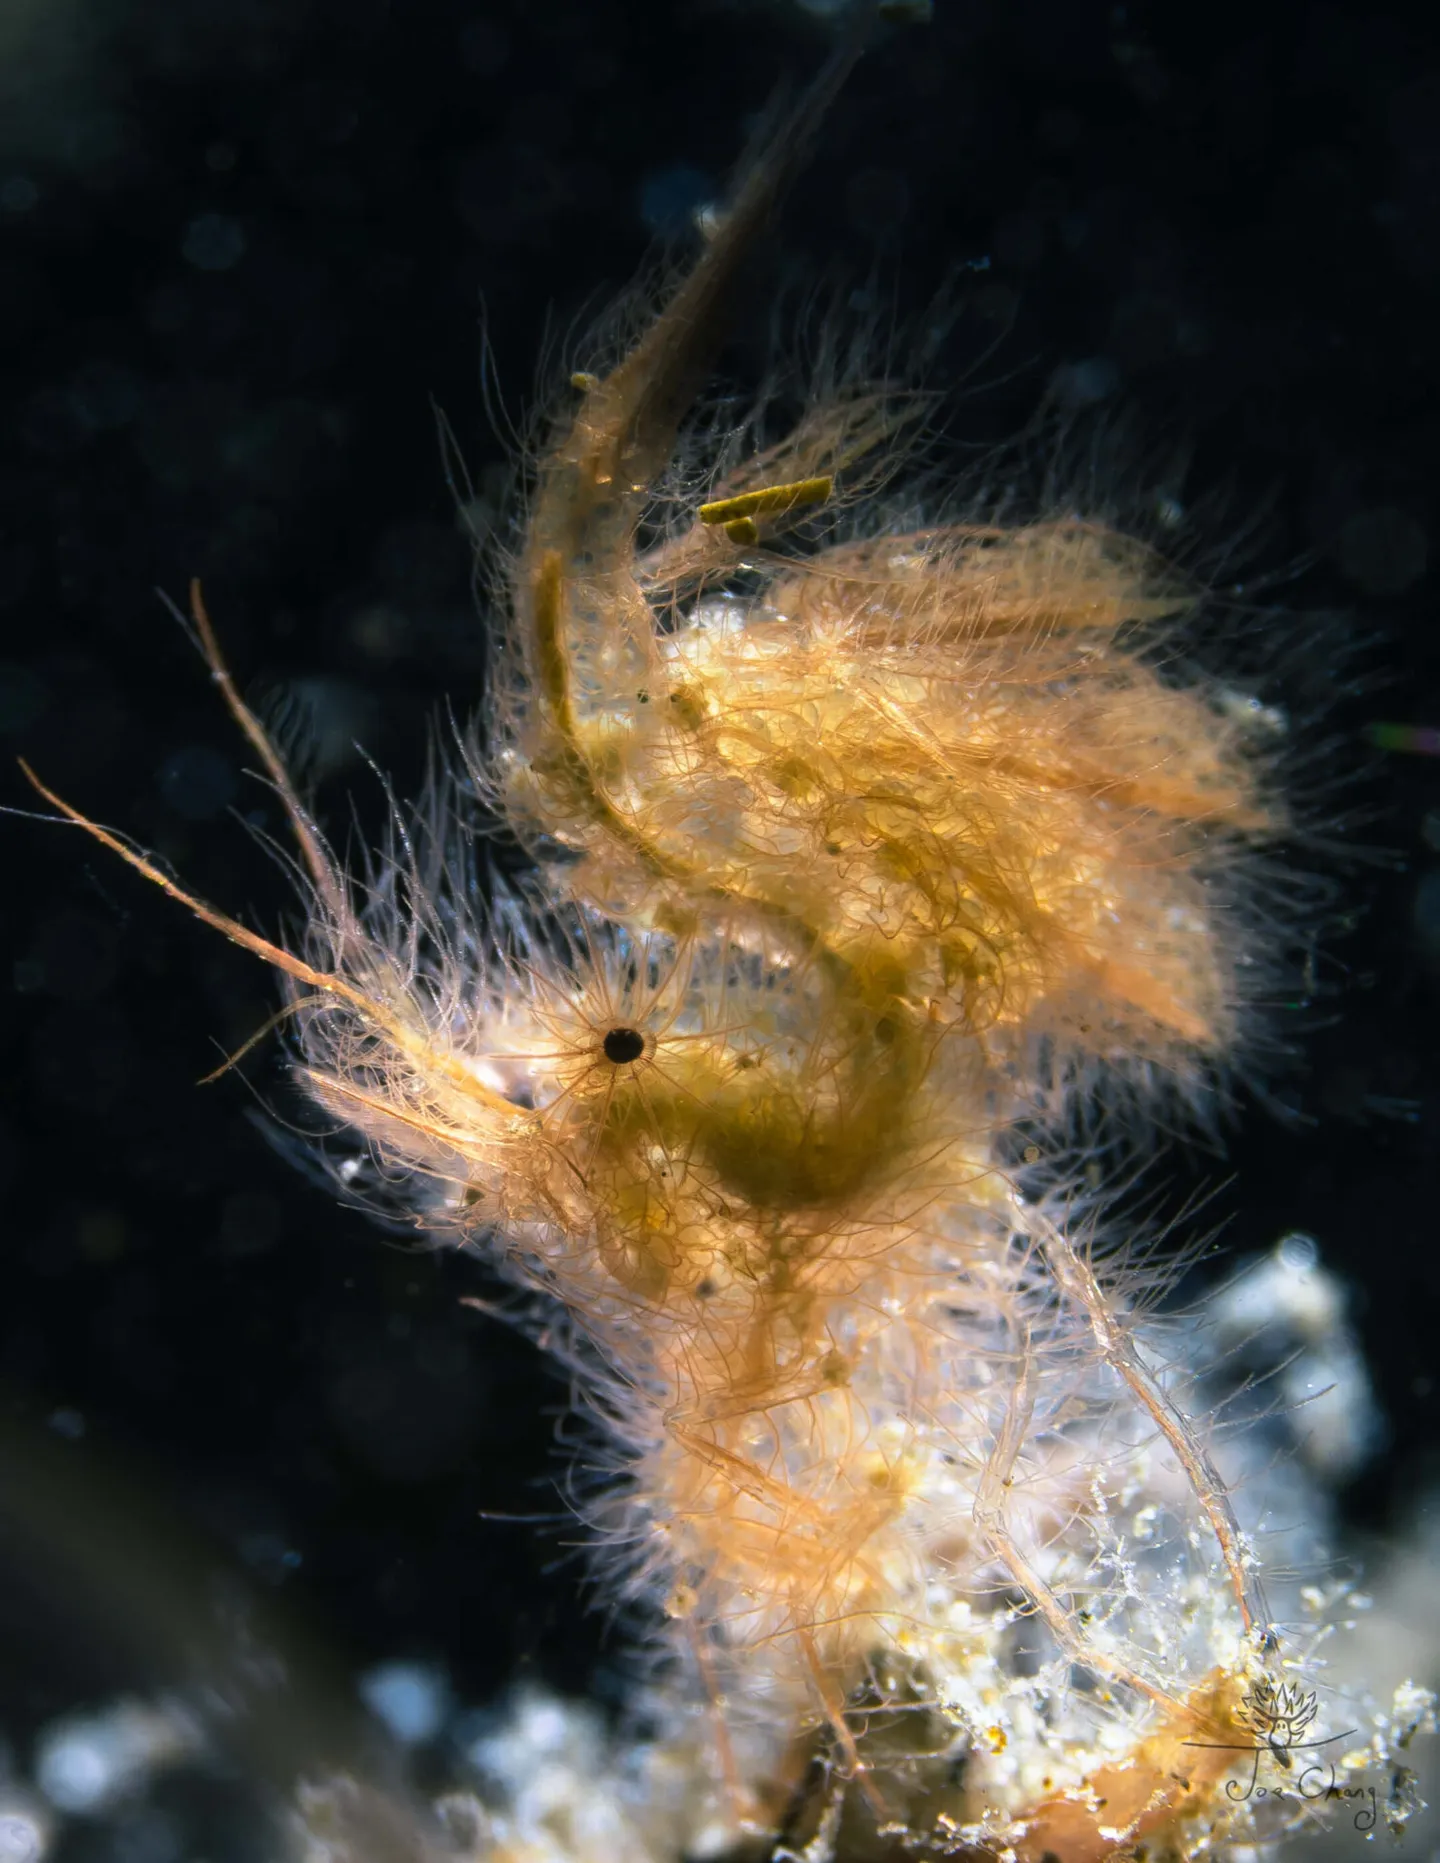
After the Editor's very amateur topside shooting demonstration, it's time for the pros to show off. The photos below were taken by one of Joe's students on their very first attempt using a TG-5 paired with the Bubblescuba BB-S1 — results this good on the first try are genuinely astounding! Joe has also exclusively shared his recommended shooting parameters to help everyone capture beautiful photos quickly.
TG-5 Macro Mode
- EPS: spot focus
- ISO 200
- Zoom in 4.0
- EV -0.7 to -2.0
TG-5 A Mode
- Add AOI UCL-900/UCL-06 Macro Lens
- EPS: spot focus
- ISO 200
- Zoom in 4.0
- f/6.3–f/18
- EV -0.7 to -2.0
TG-5 paired with Bubblescuba BB-S1
TG-5 paired with Bubblescuba BB-S1
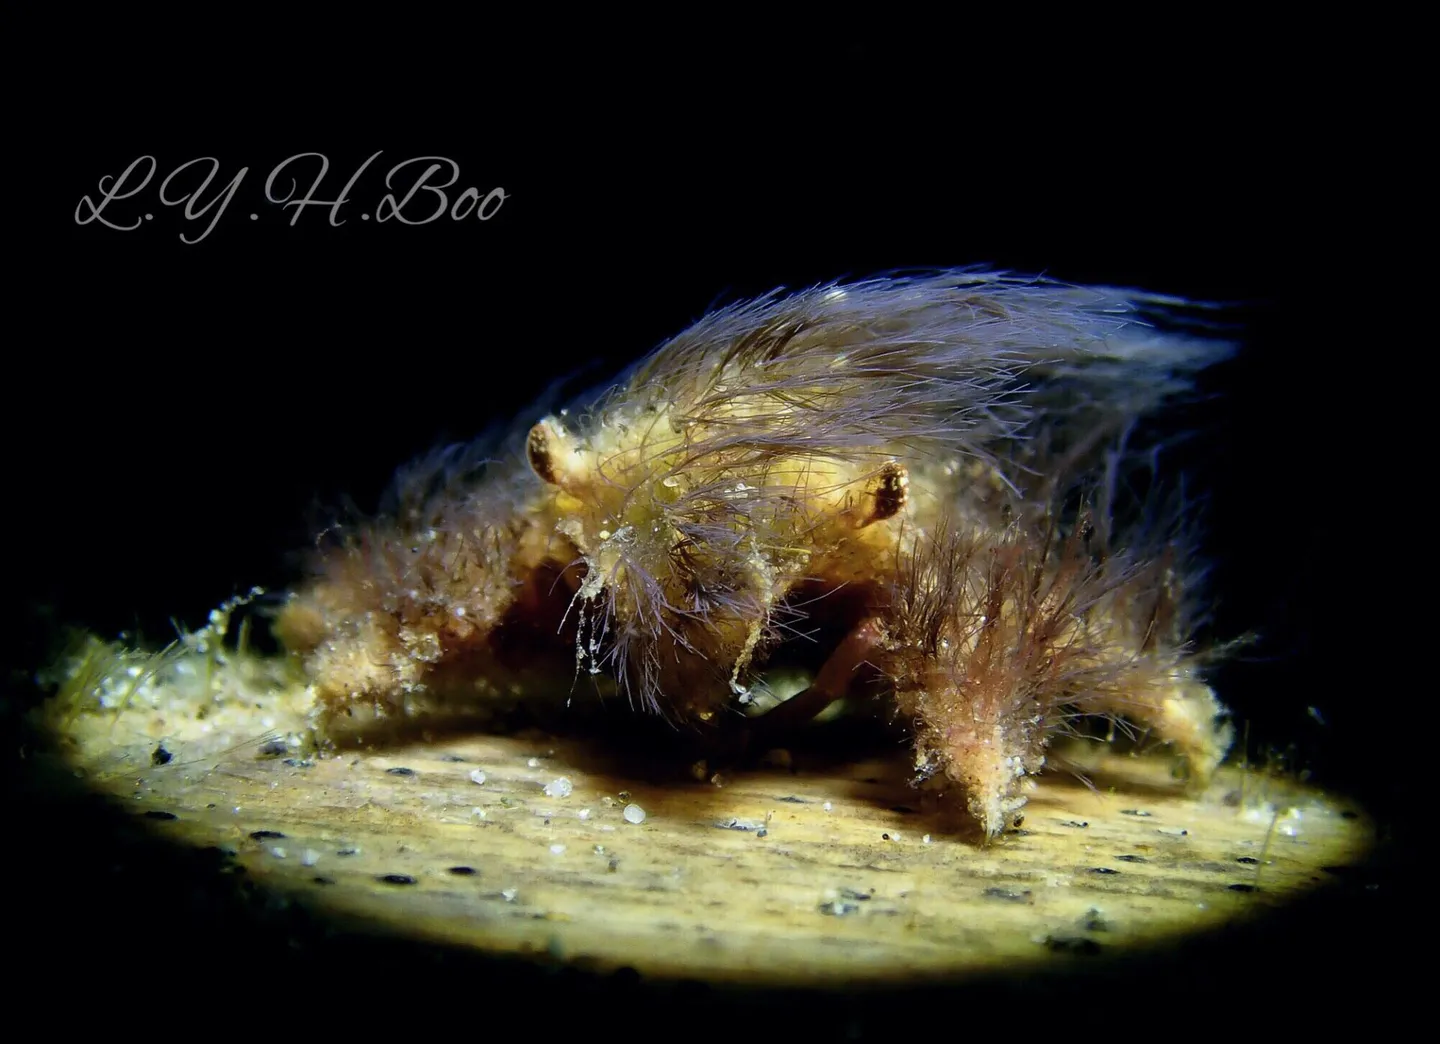
TG-5 paired with Bubblescuba BB-S1
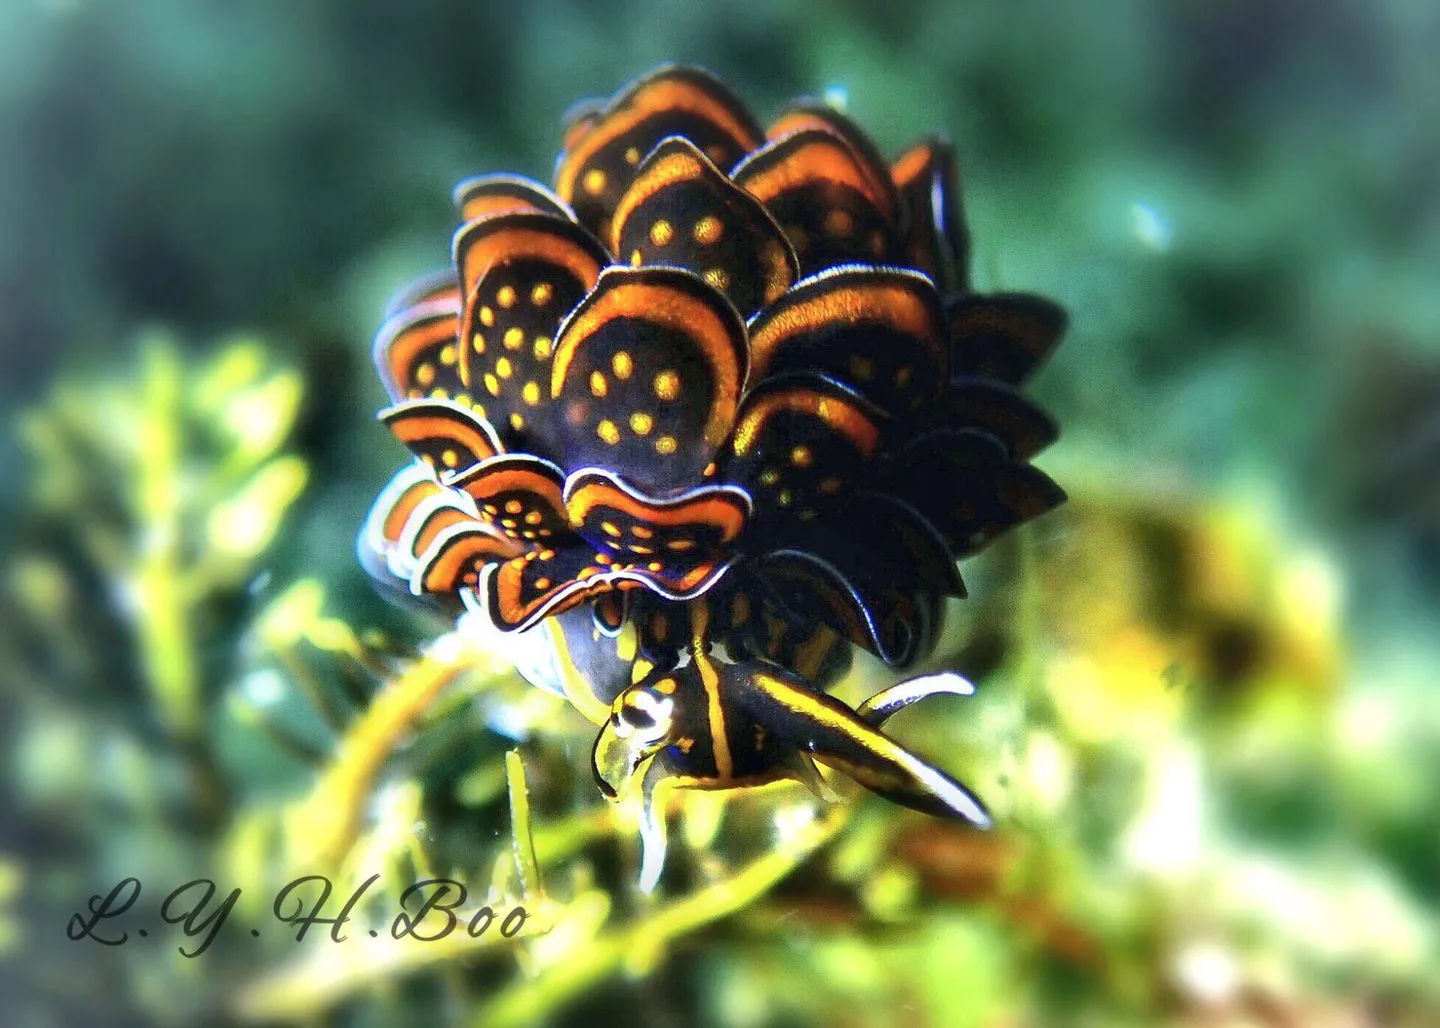
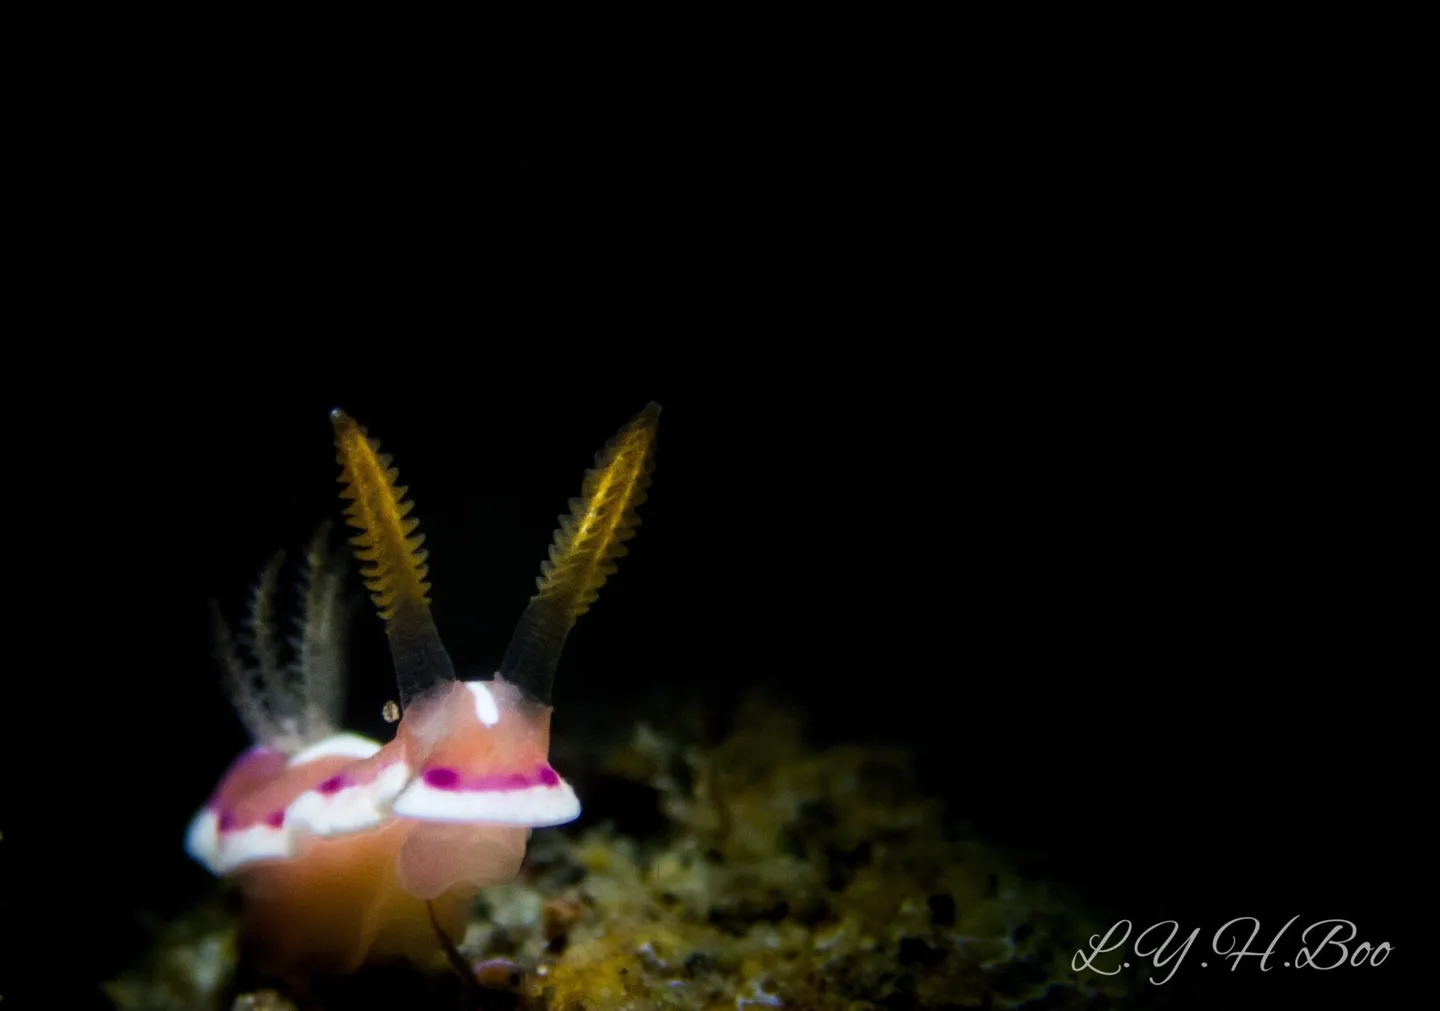
The photos below were taken by Joe using an Olympus OM-D E-M1 Mark II paired with the Olympus M.ZUIKO DIGITAL ED 60mm F2.8 Macro lens and the AOI UCL-09 (+12.5 Close-up Lens) — the results are absolutely stunning!
Recommended Settings for E-M1 Mark II:
- Aperture: f/16–f/20
- Shutter: 1/80–1/200
- ISO: Low
EM-1 paired with Bubblescuba BB-S1
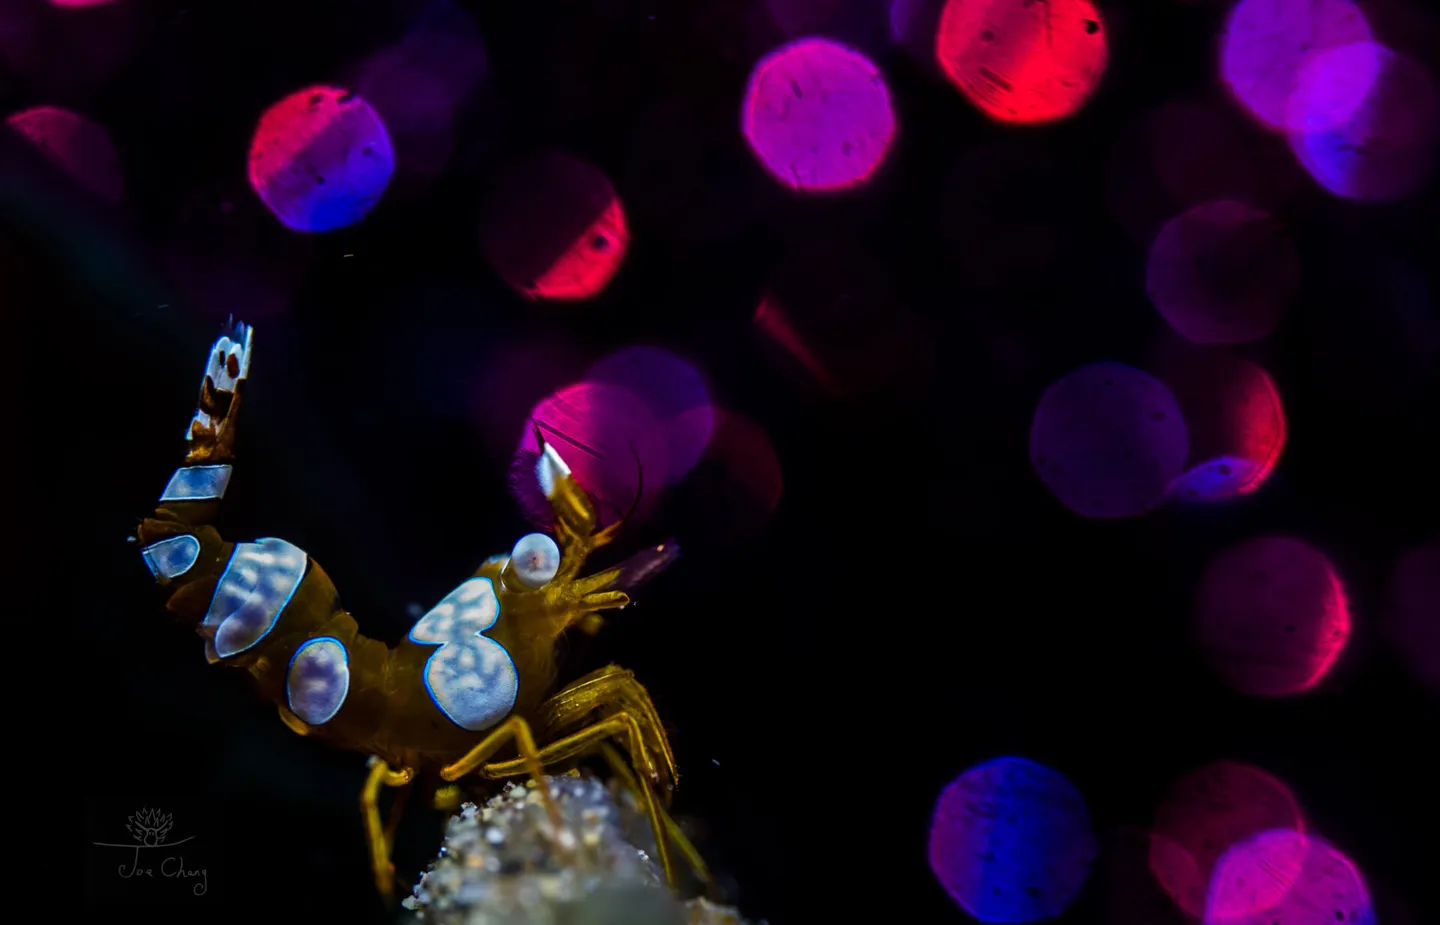
EM-1 paired with Bubblescuba BB-S1
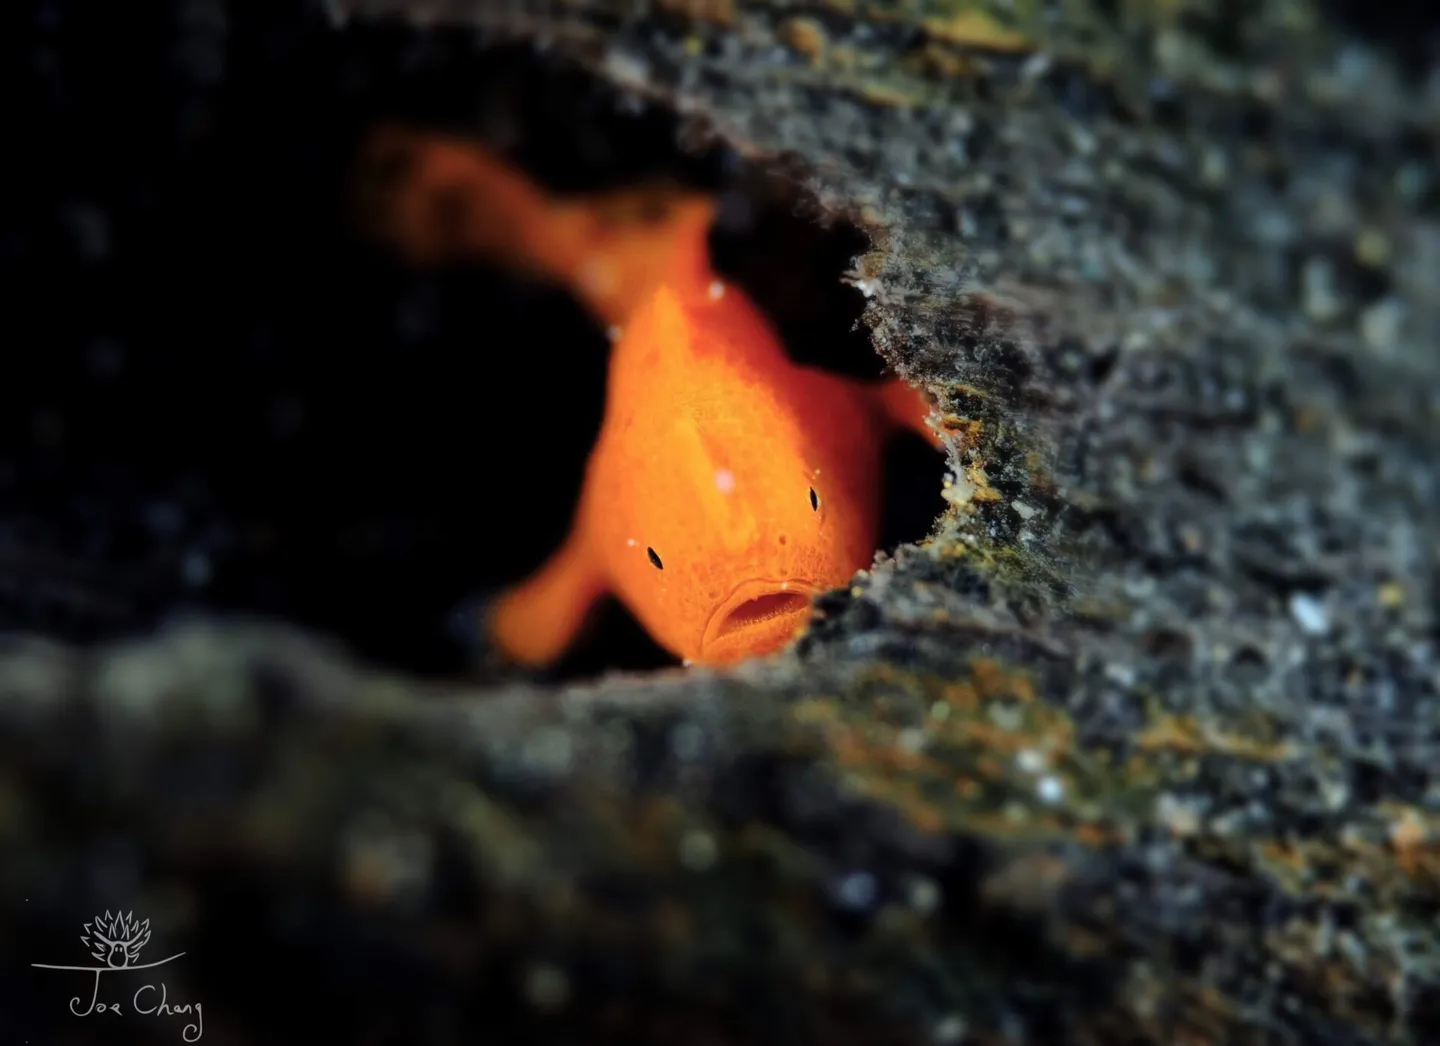
EM-1 paired with Bubblescuba BB-S1
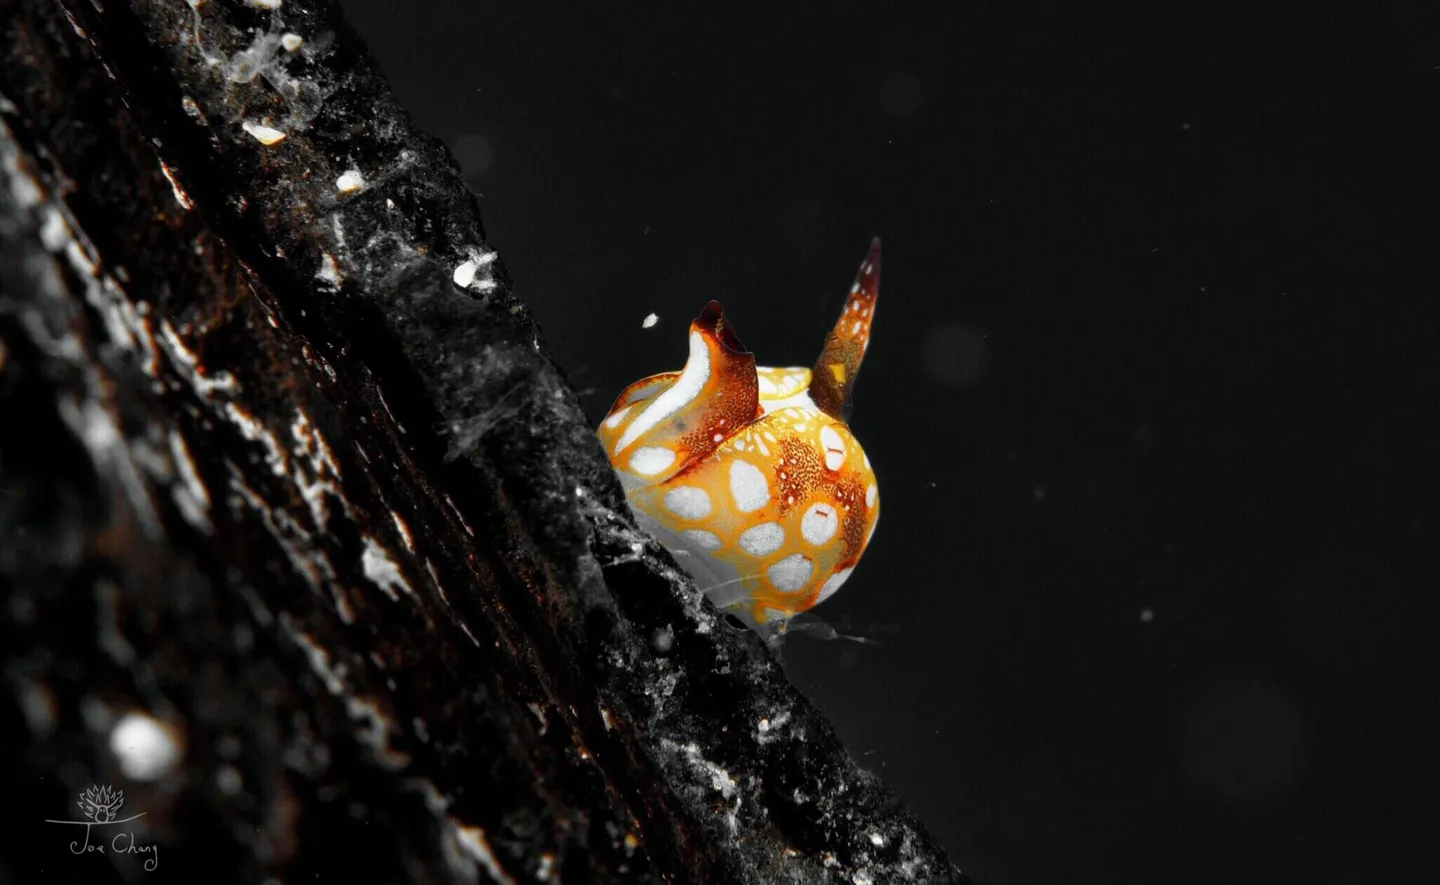
EM-1 paired with Bubblescuba BB-S1
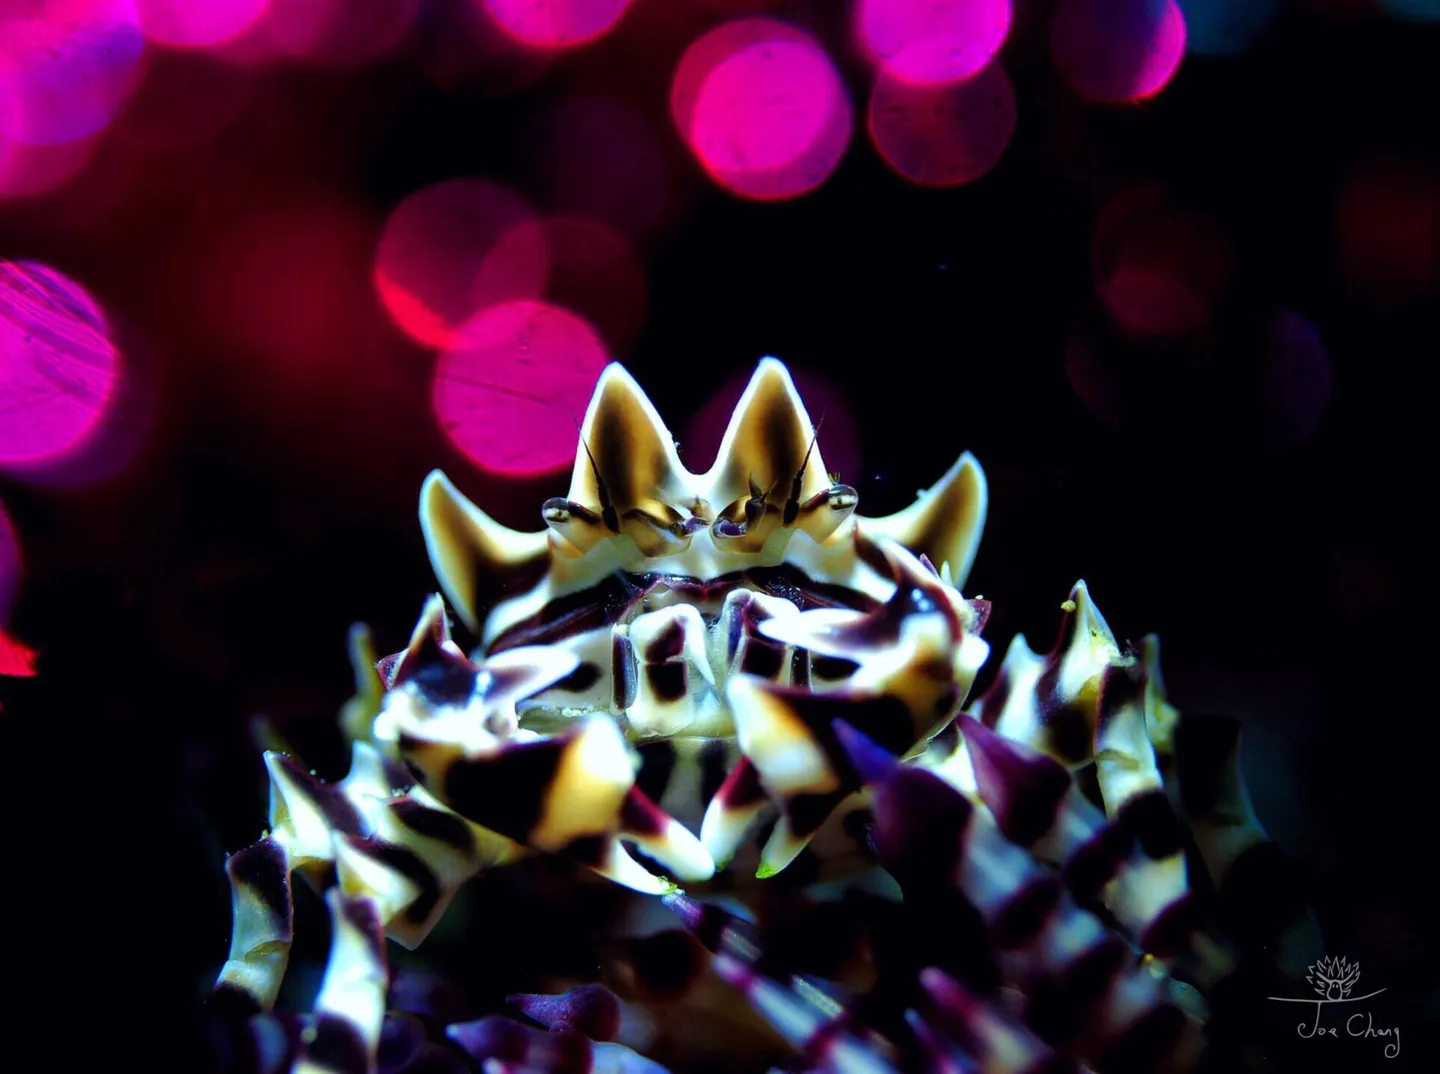
EM-1 paired with Bubblescuba BB-S1
Related links: