Underwater photography is becoming increasingly mainstream, and more and more divers are choosing to bring a camera beneath the surface. But right from the start, it's worth asking yourself: what is your goal? Are you shooting purely for documentation, hoping to become a serious enthusiast, or even aiming to reach the level of a professional underwater photography master? Different goals lead to different levels of investment — and yes, that includes how deep your pockets need to be (cheeky grin). But who says you need a DSLR to take great underwater shots? Let's hear from talented underwater photographer Violet Ting 丁珮, and learn how she used a single G12 to capture award-winning, high-quality images time and time again!
About the Author

Violet Ting 丁珮
Links: violettp (IG), Facebook, Website
Underwater photography experience: 3 years
Underwater Photography Gear:
- May 2014 – January 2015: Compact camera Canon G12 with Canon OEM housing, add-on macro lens Subsee +10, one external strobe Sea&Sea YSD1.
- January 2015 – May 2015: Compact camera Canon G12 with Canon OEM housing, add-on macro lens Subsee +10, two external strobes Sea&Sea YSD1.
- May 2015 – present: Nikon D610, Sea&Sea Housing, macro lens 60mm, wide-angle lens 16mm Fisheye, add-on macro lens SMC1, two external strobes Sea&Sea YSD1, focus light Fisheye 800, Snoot, Flash Light INON LF800N.
Specialties: light, shadow, and composition — with a focus on capturing the most beautiful moment of marine life.
Awards & Recognition
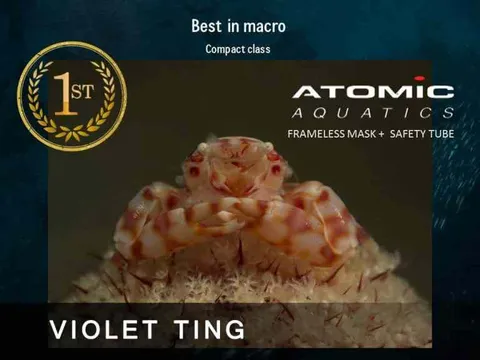
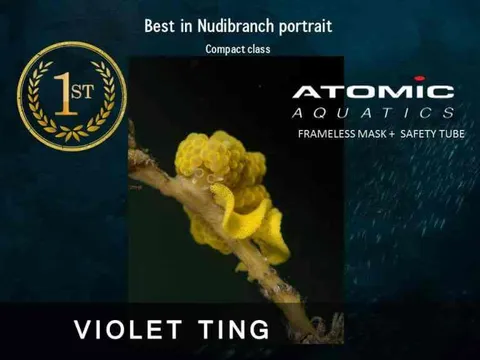
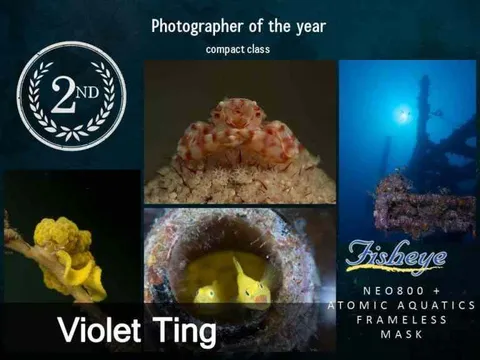
- 2015 — 5th Philippine SNUPS No-Retouching Underwater Photography Competition (compact camera category): 1st place in the nudibranch portrait category, 1st place in the macro category, and runner-up for Photographer of the Year.
- 2016 — Featured on European underwater photography website Scubashooter, Chinese underwater photography websites, and Underwater Macro Photography.
- 2017 — Invited to join MTOL (Meet The Ocean Ladies), a global collective of influential professional female underwater photographers.
- February 2017 — Featured in Malaysia's China Post.
- March 2017 — Cover story of Scubashooter Underwater Photography Magazine (Europe), Issue 25.
- May 2017 — Invited to speak at TDEX (Thailand Dive Expo), Thailand.
- February 2018 — Invited to speak at DRT Show Malaysia.
- March 2018 — Invited to speak at DRT Show Singapore.
- June 2018 — Invited to speak at DRT Show Taiwan.
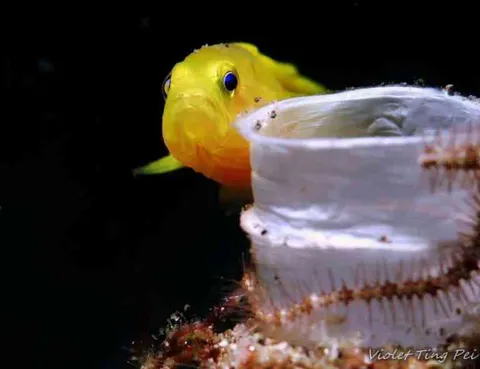
In the beginning, it would take me tens of seconds just to lock focus on a subject. I also had a mistaken belief early on that getting as close as possible would make focusing easier. In reality, you can't always keep pushing in — sometimes you need to pull back a little, and the focus will become sharper and more accurate. When I first started shooting, I only had one external strobe, the YSD1. Experienced mentors taught me to use manual mode with fixed settings of F8, 1/400, ISO100, and to position the strobe above the subject. However, I would always adjust the strobe's brightness and lighting direction based on the shooting situation. The key is not to concentrate all the light directly onto the subject, as this causes overexposure — just enough spill light reaching the subject is sufficient.
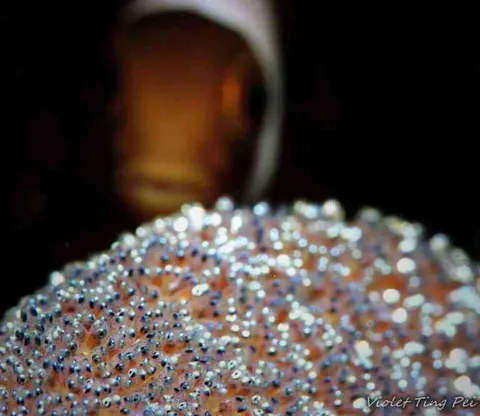
Clownfish with eggs F8 | 1/400 | ISO100
Golden goby F8 | 1/400 | ISO100
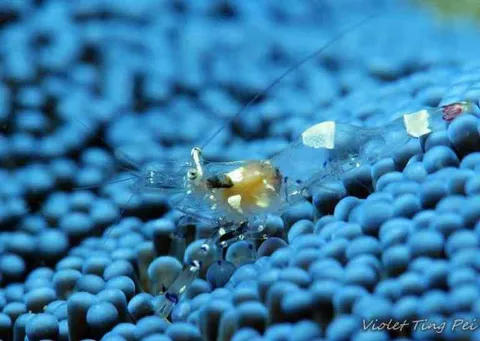
sea anemone shrimp F8 | 1/500 | ISO100
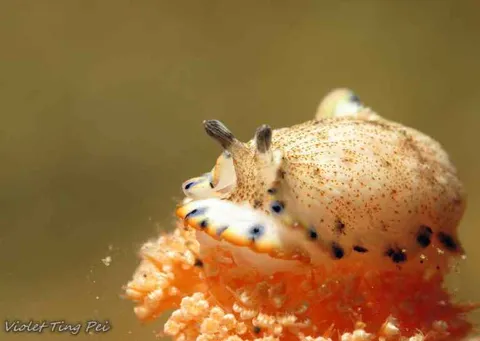
nudibranch Armina californica F8 | 1/400 | ISO100
Playing with Wide Apertures
On my fourth macro dive trip, I decided to experiment with wide apertures. However, achieving sharp focus at a wide aperture is considerably more difficult, so patience is essential. The goal of shooting wide open is to achieve a blurred background, which means you no longer need to worry about getting a black background. My initial wide-aperture settings were F4, 1/400, ISO100.

lobster (Miropandalus hardingi) F4.5 | 1/400 | ISO80
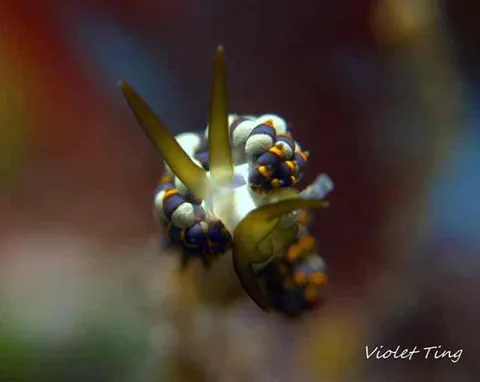
nudibranch (Trinchesia yamasui) F4.5 | 1/400 | ISO100
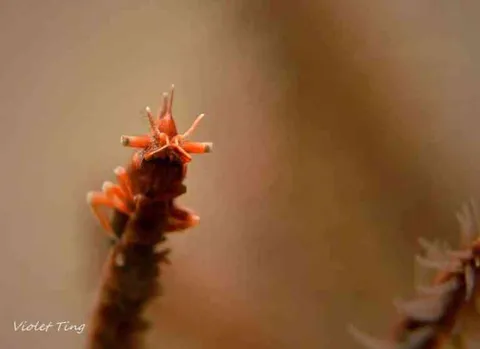
lobster (Miropandalus hardingi) F4.5 | 1/400 | ISO80
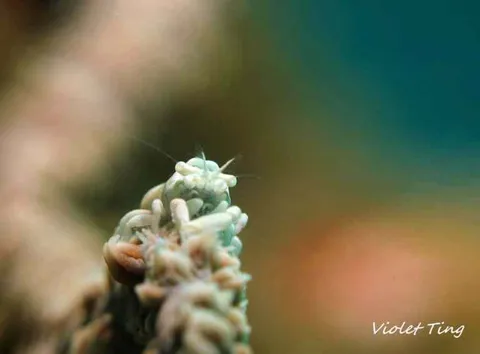
Zanzibar Shrimp F4.5 | 1/400 | ISO100
External Strobes and Snoots
From February 2015, I began using two YSD1 external strobes. Having two strobes does make it considerably easier to achieve a black background. Position the two strobes facing each other toward the lens, using the side-spill light from each strobe, combined with a small aperture of F8 (F8 is the minimum aperture on the G12) and a shutter speed of 1/400 or 1/500.
For snoot lighting, I use one external strobe and adjust its brightness according to the situation, ensuring the light coming through the snoot is soft and not overexposed.
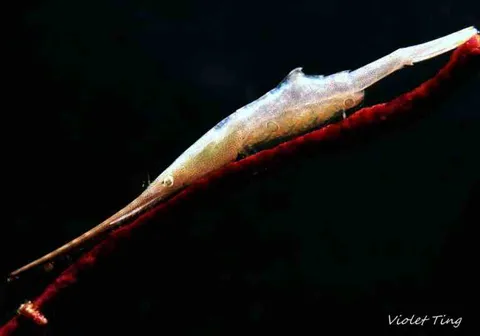
Saw-blade shrimp F4.5 | 1/400 | ISO100 with snoot
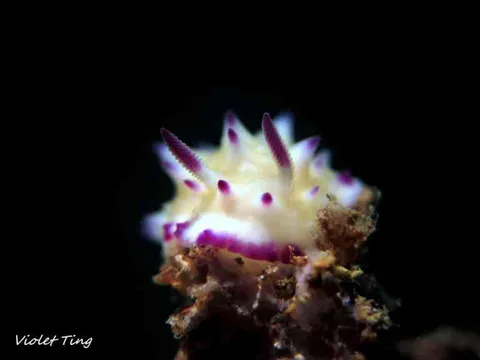
nudibranch (Mexichromis multituberculata) F4.5 | 1/400 | ISO100 with snoot
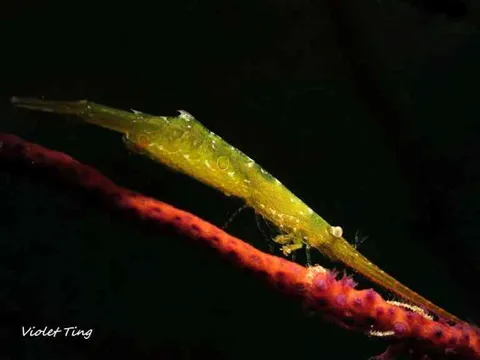
Saw-blade shrimp with eggs F4.5 | 1/400 | ISO100 with snoot
Care and Maintenance
Every experienced underwater photographer I've spoken to has told me the Canon G12 is a fantastic camera. Many people opt for the official transparent underwater housing. Based on my own experience, around the eighth month of use — with fewer than fifty dives logged — some buttons became unresponsive at depths of around 20-plus metres, only returning to normal once I ascended to 18m. Others who had previously used the G12 told me this issue eventually affects almost all users of that housing. By the ninth month, it had gotten so bad that below 12m, most buttons were inoperable. A friend later told me you can spray D40 solvent onto the O-rings around the buttons to fix the problem. Users of the OEM housing should pay particular attention to regular care and maintenance.
Award-Winning Works
2015 5th SNUPS Competition — no retouching allowed; all entries must be submitted in original file format.