![[Haisia Dive Inn Lecture Hall] How to Shoot Black-Background Macro Photos with the Olympus TG Series](/_images/983a908c6717-960w.webp)
The Editor says: When photographing marine life underwater, we always hope to create a different atmosphere. The classic black-background shot is a technique perfectly suited for beginner underwater photographers. The method varies depending on the camera and light used, so a big thank you to Nick from Haisia Dive Inn for sharing his black-background shooting tips for the Olympus TG-3 (applicable to other TG series cameras as well)!
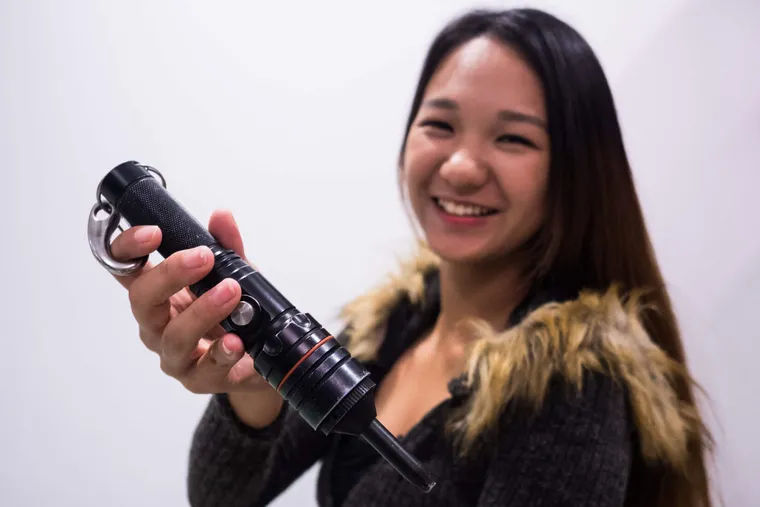
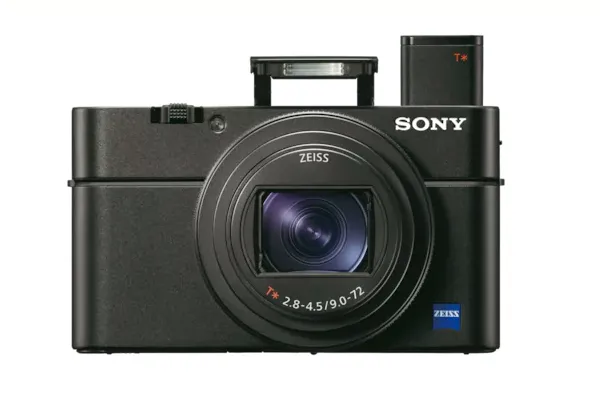
Equipment used: Olympus TG-3 waterproof camera + official underwater housing + Inon LF800N video light (spot/focused beam).
((The Inon LF800N video light (spot beam) can also be replaced with a focused-beam Torch for a similar effect.))
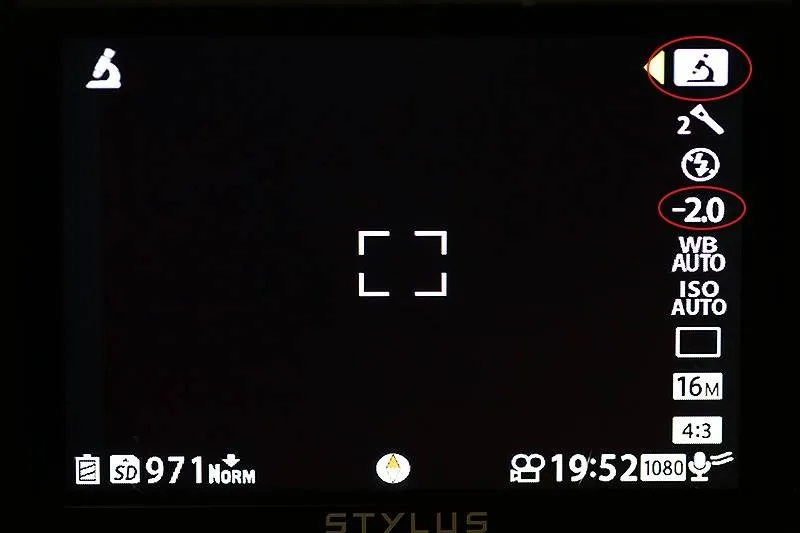
Microscope mode, exposure compensation -2EV
Introduction... You already hold a formal OW or AOW (or higher) dive certification, you're fairly comfortable in the water with solid neutral buoyancy, and you want to start photographing the wonderful creatures of the underwater world — or perhaps you're stressed out about the high cost of underwater cameras and don't know what to buy, worried you'll spend money on something that doesn't work well. A video light + TG combo is currently the lightest and most effective setup available. Underwater photography is not something you can master in one or two dives. My goal is to promote underwater photography and help newcomers experience its joy from the very start.
There are countless equipment options out there, but based on real-world experience and the challenges you'll encounter while diving, I've tried to identify a simple combination that works well for most people and produces great results — and I'll show you actual sample shots. I'm leaving strobes out of the picture for now, because strobe technique is a deep and complex subject. Video lights, however, are much simpler to use — they provide continuous illumination. The reason is straightforward: you can see the effect on your screen before you shoot. Simply put, what you see on the screen = what you get in the photo.
Olympus TG-3 Shooting Tips
For those who have no one to ask, here are the techniques I've developed through my own use of the TG-3. Of course, there's never just one right way to do photography — this is simply the method I find easiest for most people to understand and apply. The common weakness of consumer-grade cameras is their inability to blur a cluttered background and achieve shallow depth of field, which makes the subject less prominent and the image less impactful. This method allows you to shoot with a black background during daytime dives to make your subject stand out. There's no right or wrong way to shoot — the most important thing is: are you having fun?
Let's get started — how do you shoot black backgrounds with the TG-3?
- First, configure your camera. TG-3 camera settings: Microscope mode + exposure compensation -2EV or -1.3EV.
Microscope mode, exposure compensation -2EV
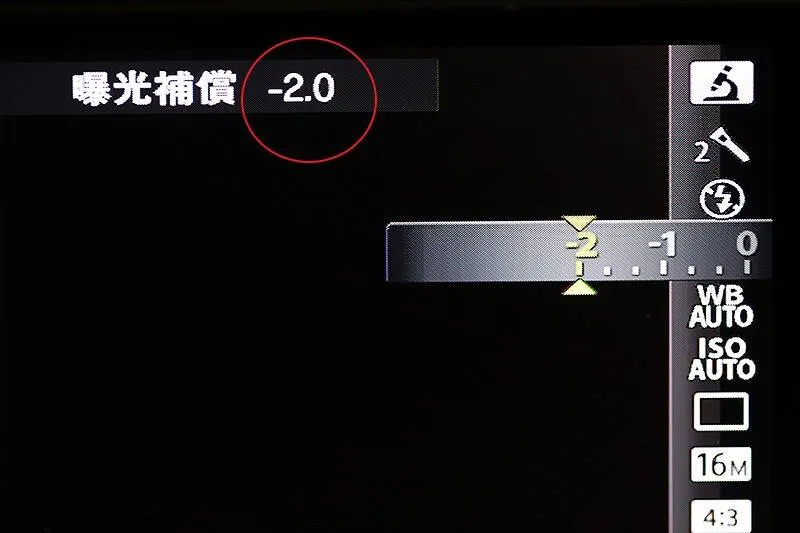
Illustration of exposure compensation -2EV
- TG-3 camera settings: go into MENU and set the metering mode to spot metering.
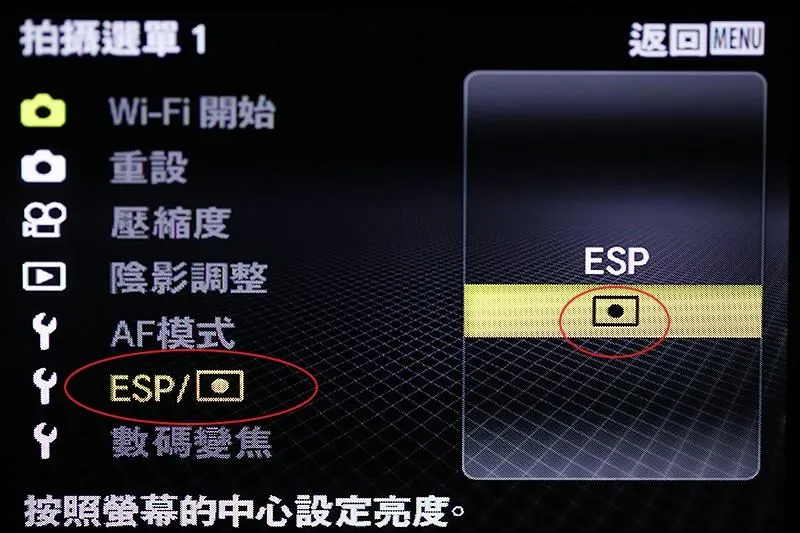
The one with a single dot in the center is spot metering
- Now that the camera is set up, let's practice on land first!

Without the video light — a test shot of a kitten in a normally lit room

Using the video light to illuminate the kitten, then half-pressing the shutter to focus and meter — the surroundings immediately go dark, and a black background is instantly achieved. Pretty simple, right?
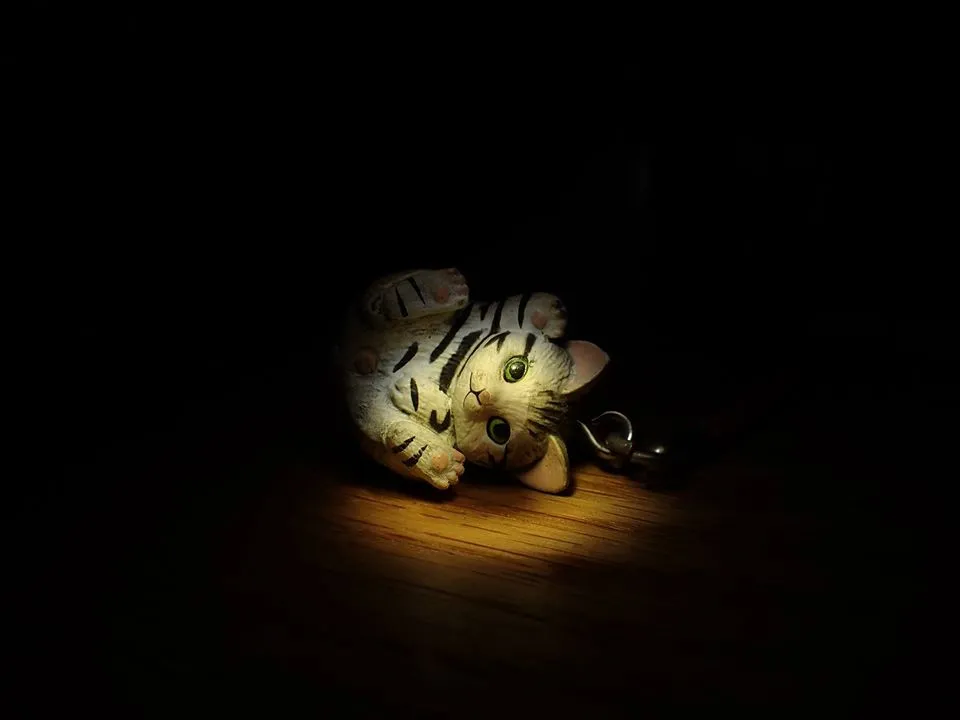
Change the distance a little and shoot again — still beautiful~~~

Adjust the video light position — great for shooting nudibranchs on cluttered surfaces, eliminating the messy background entirely!
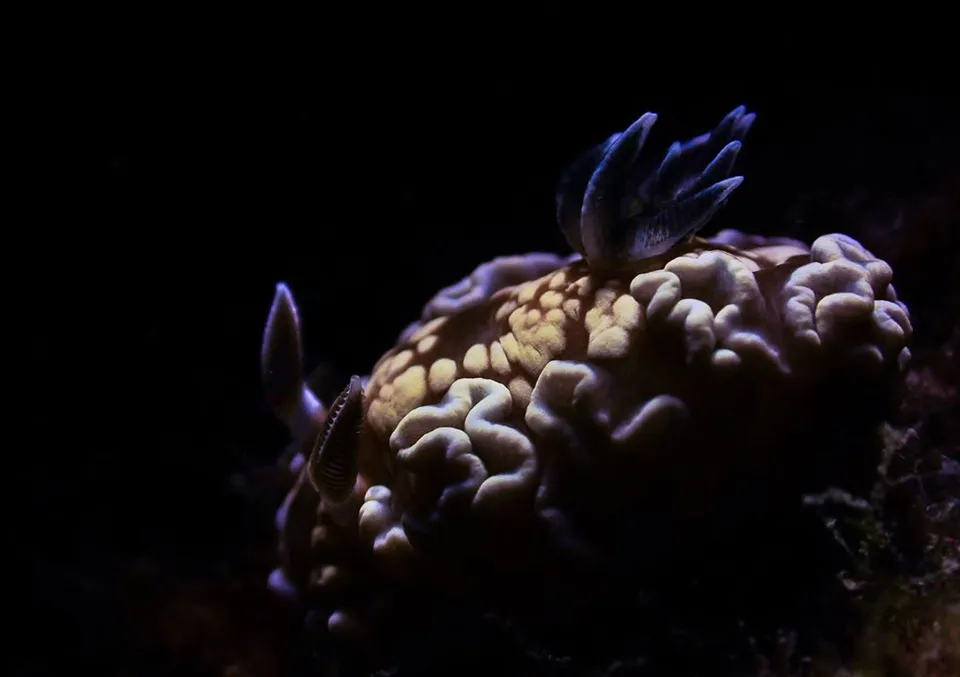
And this is the secret to making that cluttered background disappear~~ Pretty simple, isn't it?


✽ Helpful Tips ✽
✽ Please practice on land plenty before getting in the water — it's genuinely tricky at first, and you'll have a lot going on underwater! Camera in the right hand, video light in the left hand!! And nudibranchs have a habit of wandering off... In reality, the more you shoot, the more comfortable you'll become — just stick with it and it'll click.
✽ How the camera settings work: (Read this section only if you're interested.)
-
Microscope mode --> Obviously, it's for shooting small subjects up close.
-
Spot metering --> Meters based on an extremely small area, typically just 1–5% of the frame, usually the center point. Because the center of the frame is brightly illuminated by our focused video light, the camera uses that "very bright spot" as its standard exposure reference — which forces the overall exposure to darken significantly, including the background, creating the black-background effect.
-
Exposure compensation -2EV --> Makes the background even darker for greater impact. Of course, if the image is so dark you can't see the subject, dial it back to -1EV and adjust from there.
✽ Why doesn't any video light work? It's not that they don't work — they just need to meet certain conditions! 1. The light must produce a focused/spot beam. 2. The intensity must be strong enough. Currently, the minigear ms03 and the SUPE spot-beam series are both excellent choices — lights I'd personally recommend.
✽ Any downsides? When the beam is highly focused, not every creature will sit still long enough for you to aim carefully... Getting a great shot ultimately comes down to your patience and persistence.
✽ This method works best during daytime dives at depths of 8 m or below, or during night diving (the darker the environment, the more visible the focused beam).
✽ Every spot-beam light has an optimal focal distance at which the light is most concentrated and intense, and the beam quality is sharpest. You'll need to move the light back and forth to find that sweet spot. See the illustration below.
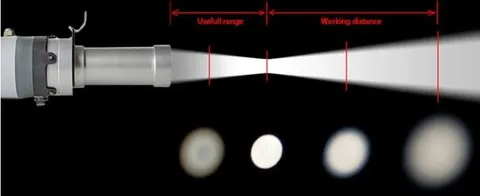
Spot beam diagram — image source: Retra LSD
✽ When practicing on land, the focused beam aperture will appear very small. Once underwater, the aperture will look larger and the optimal focal distance will increase — this is completely normal, as water refracts and attenuates light.
✽ When shooting macro and lying prone, please be mindful of the corals and other marine organisms around you — they are very fragile. Watch where your fins are, and take care of our marine life.
If you found this article useful or enjoyable, please share it~~ Push that handy little camera of yours to its limits! Haisia Dive Inn
Related links:

![[Haisia Dive Inn Classroom] How to Easily Achieve a Clean Background — (Light Avoidance)](/_astro/41799561_2239158483075271_5267624522068000768_o_Z6Cqc4.webp)