Dreaming of diving in the Maldives but worried about the cost? This budget traveler's guide to Maldives local islands covers everything: how to book AirAsia tickets, navigating the Kuala Lumpur transit process, the self-bag-drop procedure in detail, and how to arrange speedboat transfers from the airport to your island. A step-by-step guide to exploring the Maldives in the most affordable way possible!
Follow the Editor's tips for a smart, affordable Maldives diving adventure
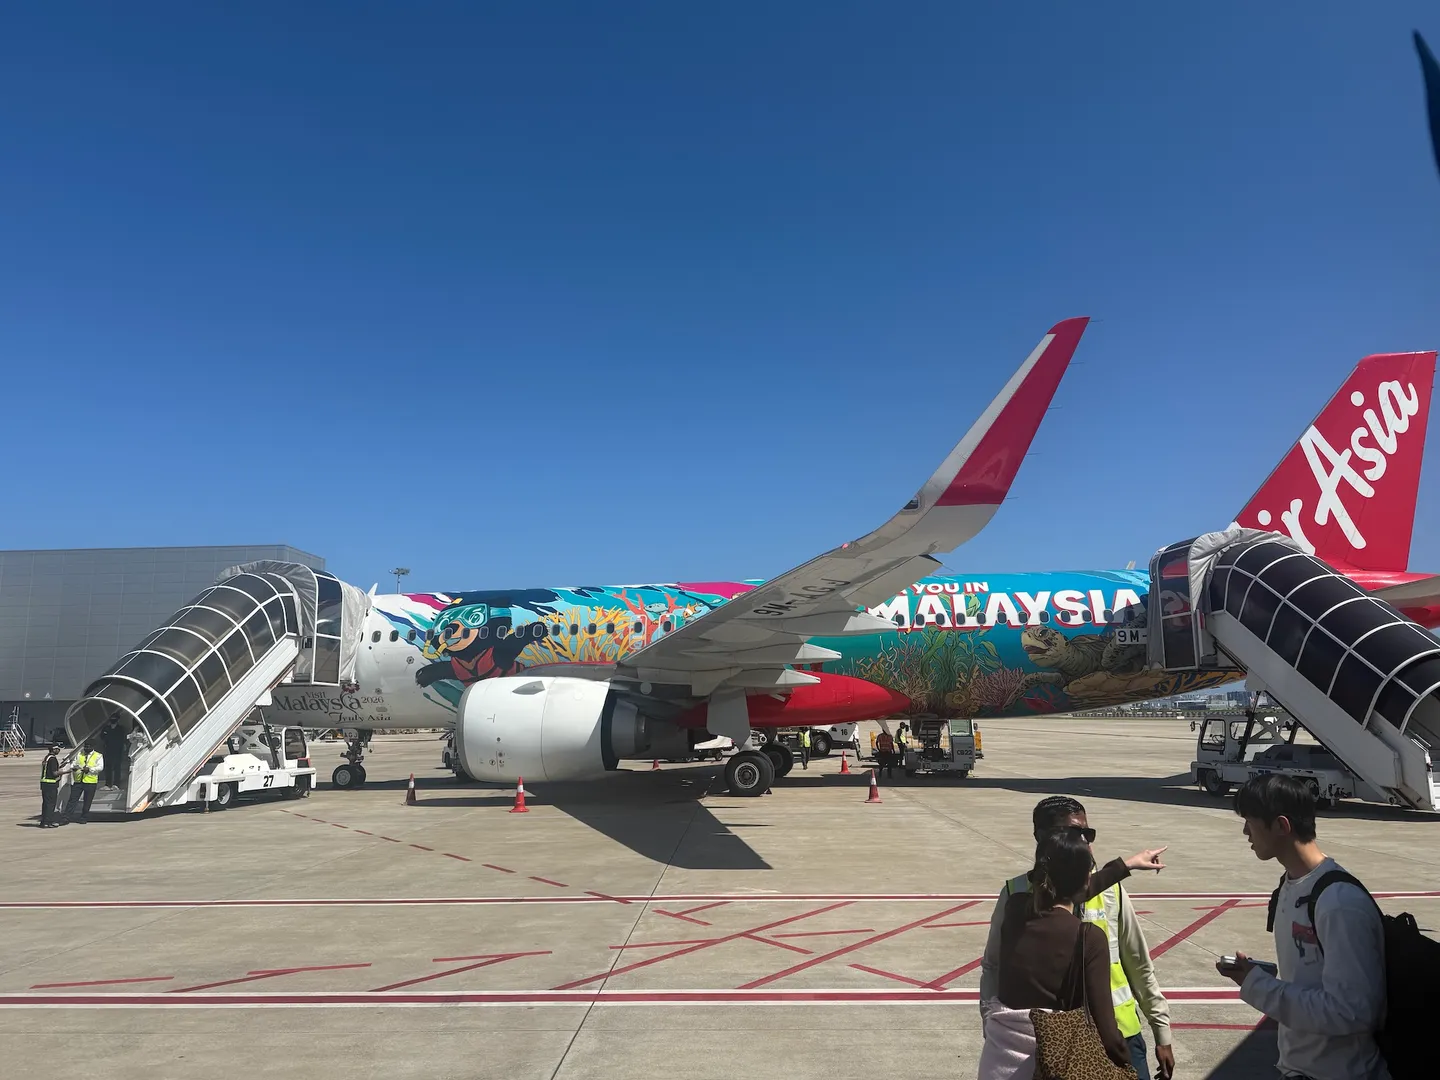
AirAsia is Malaysia's budget airline with a dense flight schedule — so dense, in fact, that it operates its own dedicated terminal at Kuala Lumpur International Airport (KLIA T2). Thanks to its low fares and frequent flights, it has become the go-to choice for budget travelers and divers heading to Maldives local islands.
This article shares tips and travel notes from a 2025 trip departing Taiwan on AirAsia, transiting through Kuala Lumpur, Malaysia, and continuing on to the Maldives local islands for scuba diving. The Editor booked this journey as separate tickets (which generally do not allow through-checked baggage), so in Kuala Lumpur it was necessary to complete the full cycle: arrive → go through immigration → collect checked baggage → go through departure → re-check baggage. This is considerably more involved than a straightforward through-checked itinerary.
Along the way, the Editor experienced the exhaustion of red-eye flights, navigated AirAsia's self-bag-drop process, and dealt with diving gear that was perpetually threatening to go overweight. This guide is written specifically to help fellow travelers plan their flights and baggage more smoothly, and to reduce the stress and fatigue of the transit experience.
Tagging along with the Editor on a budget dive trip — adventure incoming!
This guide covers:
- Pre-departure prep, visas, and purchasing extra baggage allowance
- Step-by-step guide to AirAsia self-bag-drop at Kuala Lumpur Airport
- Transportation options for getting to the Maldives local islands
AirAsia Maldives Transit Guide — Tickets, Baggage, Immigration & Visa Tips
Are AirAsia Split Tickets Really Worth It? Key Considerations for Transits and Baggage
Many travelers choose budget carrier AirAsia for cost reasons, and during the price-comparison process you'll notice that ticket prices fluctuate significantly. If you split your itinerary — booking "Taiwan → Malaysia" as one round trip and "Malaysia → Maldives" as a separate round trip — this approach can work out to be more than NT$1,000 cheaper than purchasing a single through-ticket for Taiwan → Malaysia → Maldives. It's worth doing your homework before you buy!
When purchasing tickets, pay attention to:
- Whether your transit time is sufficient to avoid missing your connecting flight
- After arriving in the Maldives, the speedboat departure schedule to your local island, or the transfer timing for your liveaboard
For travelers heading to Maldives local islands for scuba diving, the gear is bulky and heavy; each leg is roughly 4–5 hours of flying, with the added possibility of a red-eye in between, making the transit genuinely tiring. AirAsia seating is compact and cramped, so travelers who can afford it are encouraged to choose an itinerary with through-checked baggage or a full-service carrier (such as Singapore Airlines), in order to minimize the number of times you have to haul your luggage and make the journey more comfortable.
The Editor recommends: Travelers who can afford it, or who can't handle the fatigue, should choose a flight with through-checked baggage or a full-service carrier (such as Singapore Airlines).
How to Pack for Scuba Diving? AirAsia Checked Baggage Weight & Add-On Recommendations
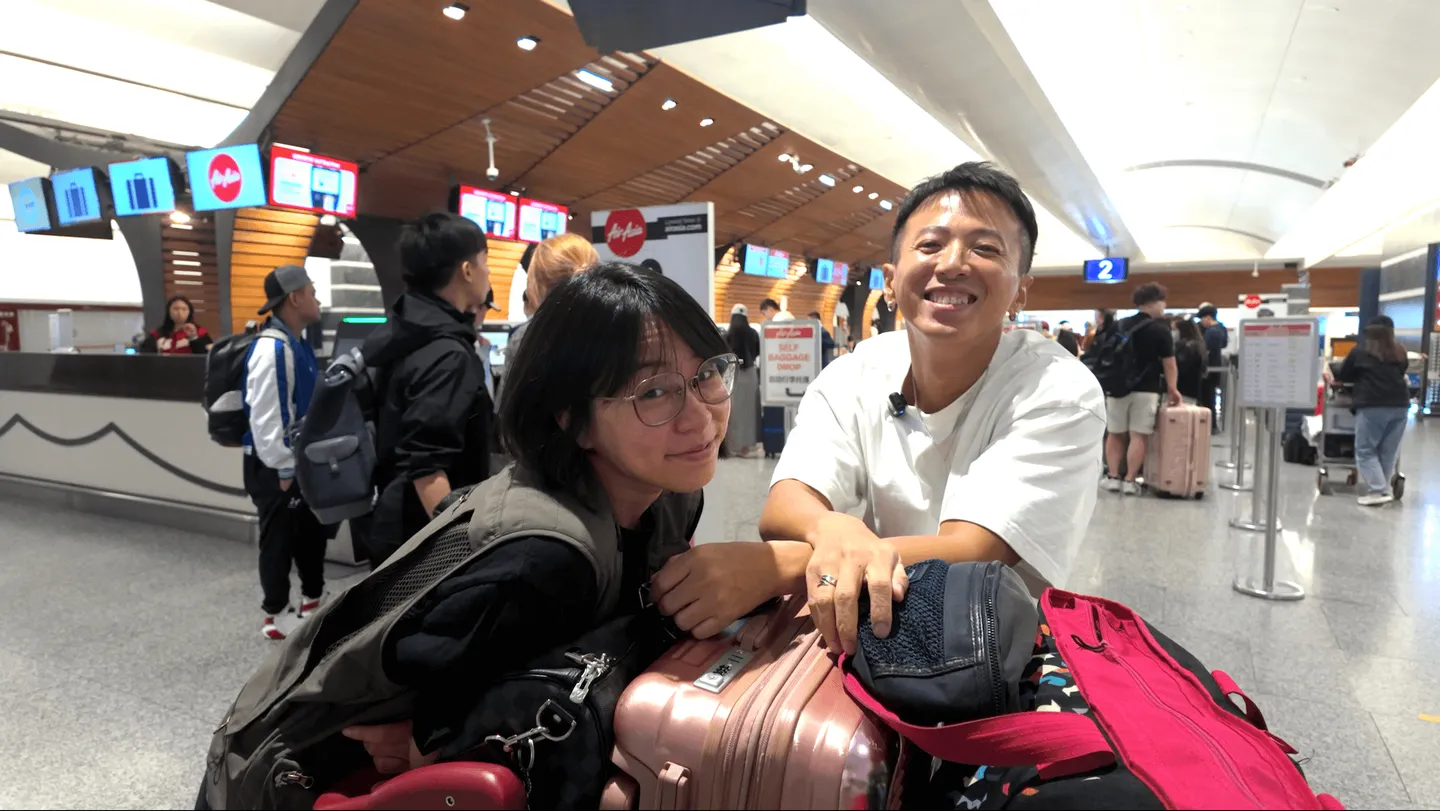
In the Editor's case, the booked tickets did not include checked baggage, so it had to be purchased as an add-on. Traveling with a friend, the group carried 2 × 28-inch suitcases plus 2 carry-on bags. The two 28-inch cases were packed as follows: one contained underwater camera gear, and the other held two sets of scuba diving equipment. Clothing and other daily essentials were consolidated into the carry-on bags.
The Editor and travel companion together purchased 25 kg × 2 of checked baggage allowance — and even then, the weight was extremely tight, with virtually no room to spare.
Another travel companion who was not bringing an underwater camera only needed to check one set of diving equipment plus daily items, and therefore only needed to add 20 kg of checked baggage alongside one carry-on bag. But even so, with the inherent weight of scuba gear, distributing the luggage weight was a constant juggling act.
- Basic baggage recommendation: One set of scuba gear plus a light personal kit fits in 20 kg of checked baggage — just barely. There is little room to bring anything extra on the return trip.
- Recommended add-on weight: Upgrading to 25 kg is advisable; it gives you a buffer in case your gear hasn't fully dried by the time you pack, and accommodates any shopping or additional items on the way home.
- Add baggage via App / website before your flight: Go to the AirAsia official website or App → Manage Booking → Add Baggage. You can add 5–40 kg, with pricing varying by route and weight.
AirAsia's baggage weigh-in is very strict — being over by as little as 0.5 kg may result in additional charges. Once you're on the island, you'll inevitably take plenty of great photos and pack more outfits than expected. If you're only bringing one set of scuba gear, upgrading to 25 kg of checked baggage will save you a lot of worry compared to 20 kg — no more anxiously shuffling items between bags throughout the trip.
The Editor recommends: Add at least 25 kg of checked baggage, so you're not constantly opening and reorganizing your suitcase to hit the weight limit.
Malaysia Digital Arrival Card (MDAC)
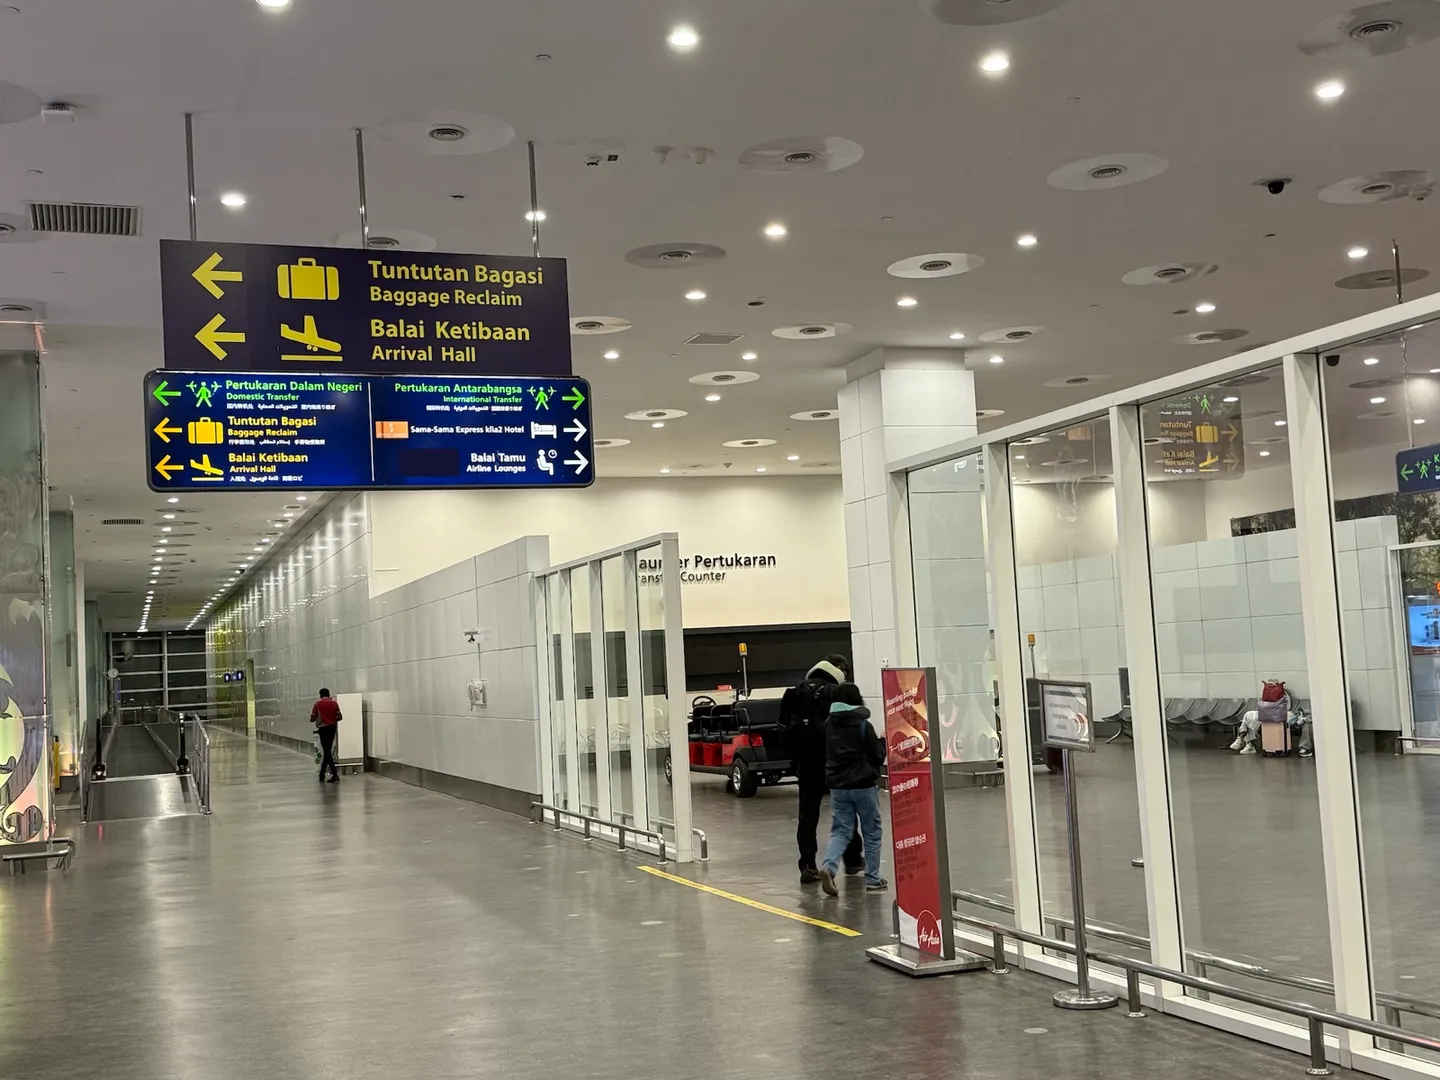
After landing, choose the arrival or transit lane. If your baggage is not through-checked, you'll need to go through immigration first.
- When it applies: If you've purchased AirAsia split tickets and need to enter Malaysia — even just for a transit — you must apply for entry.
- Visa-free eligibility: Taiwanese travelers may enter visa-free for stays up to 30 days.
- Nationality selection: Be sure to select Taiwan as your nationality, not China — otherwise you will not be able to use the automated immigration kiosks.
- When to fill it in: Must be completed online within 72 hours before arrival. MDAC official website: https://imigresen-online.imi.gov.my/mdac/main (Click here for a tutorial video)
- Immigration method: The automated kiosks can be used; it is still recommended to screenshot or print your arrival card in case it is requested.
- Document reminder: Ground staff are very likely to check your Maldives return ticket and accommodation booking at various checkpoints — make sure to screenshot or print these and keep them on you at all times. (This is important! The Editor had every document checked before boarding the Maldives flight!)
Inside the automated immigration area at Kuala Lumpur Airport, you'll see national flags of countries eligible to use the automated kiosks. Taiwan's flag has been covered with a black image for well-known reasons, but the automated kiosk function works normally for Taiwanese passport holders.

The missing flag belongs to Taiwan (╥_╥)
Based on the Editor's firsthand experience, Malaysia's automated immigration kiosks are less sensitive than Taiwan's — possibly due to lighting conditions. If your appearance has changed significantly or you're looking a bit rough after a long flight, the machine may fail to recognize you and you'll need to join the queue at a staffed counter.
Important note: If you went through a staffed counter on entry, you must also use a staffed counter on departure. Allow extra time accordingly.
The Editor recommends: Keep your Maldives return ticket and accommodation booking on you at all times.
Maldives IMUGA Traveler Declaration Form
- Visa-free eligibility: Taiwanese travelers may enter visa-free for 30 days.
- When to fill it in: Must be completed online within 96 hours before arrival. IMUGA Traveler Declaration Form official website: https://travel.immigration.gov.mv/ Tutorial: https://www.clara7.com.tw/2024/05/31/travel-immigration/
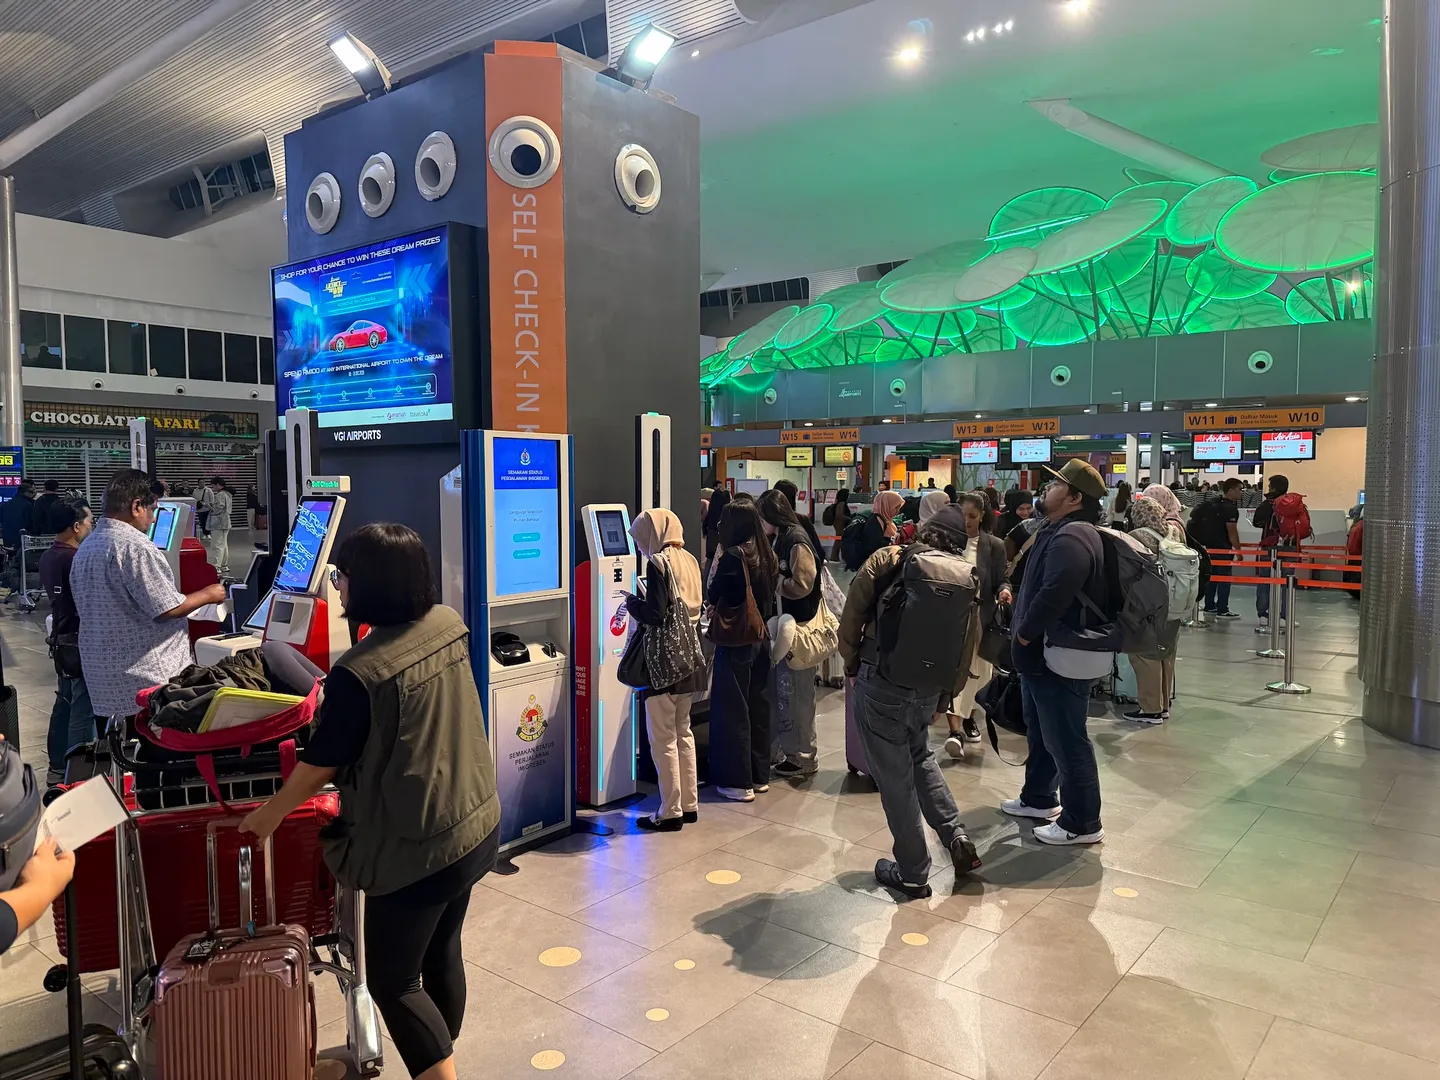
Step-by-Step Guide to AirAsia Self-Bag-Drop at Kuala Lumpur Airport
Kuala Lumpur's massive Terminal 2 — don't get lost!
Applicable to: Kuala Lumpur KLIA Terminal 2 passengers
Everything takes place in the same zone: ✔ Kiosk self-check-in machines ✔ Self Bag Drop
Passengers need to complete three things: 1️⃣ Print boarding pass 2️⃣ Print bag tag 3️⃣ Drop off checked baggage (Self Bag Drop)
Step 1: Head to the AirAsia Self-Check-In Area

After immigration, follow the signs to Level 3 Departures
After arriving at Kuala Lumpur T2, head to Level 3 Departures and look for the row of red-and-white Kiosk self-check-in machines.
Step 2: Use the Kiosk to Check In
Find a free Kiosk and proceed with check-in
- Select your language (English / 中文)
- Enter your details: booking reference (PNR), scan your passport, or scan the QR code on your e-ticket
- The system will display: passenger name, flight information, and baggage allowance (if you've purchased add-on baggage or it's included)
After confirming → the machine will print: ✔ Boarding pass ✔ Bag tag
⚠️ Tips
- If you haven't done online check-in in advance, the Kiosk can handle it.
- During peak season, AirAsia may occasionally require passengers to check in via the App first.
- Lost your boarding pass? (Juggling luggage makes it easy to drop things — the Editor accidentally lost theirs twice!) ➜ Simply return to the Kiosk, re-enter your details, and print another one.
Step 3: Attach the Bag Tag (Very Important)
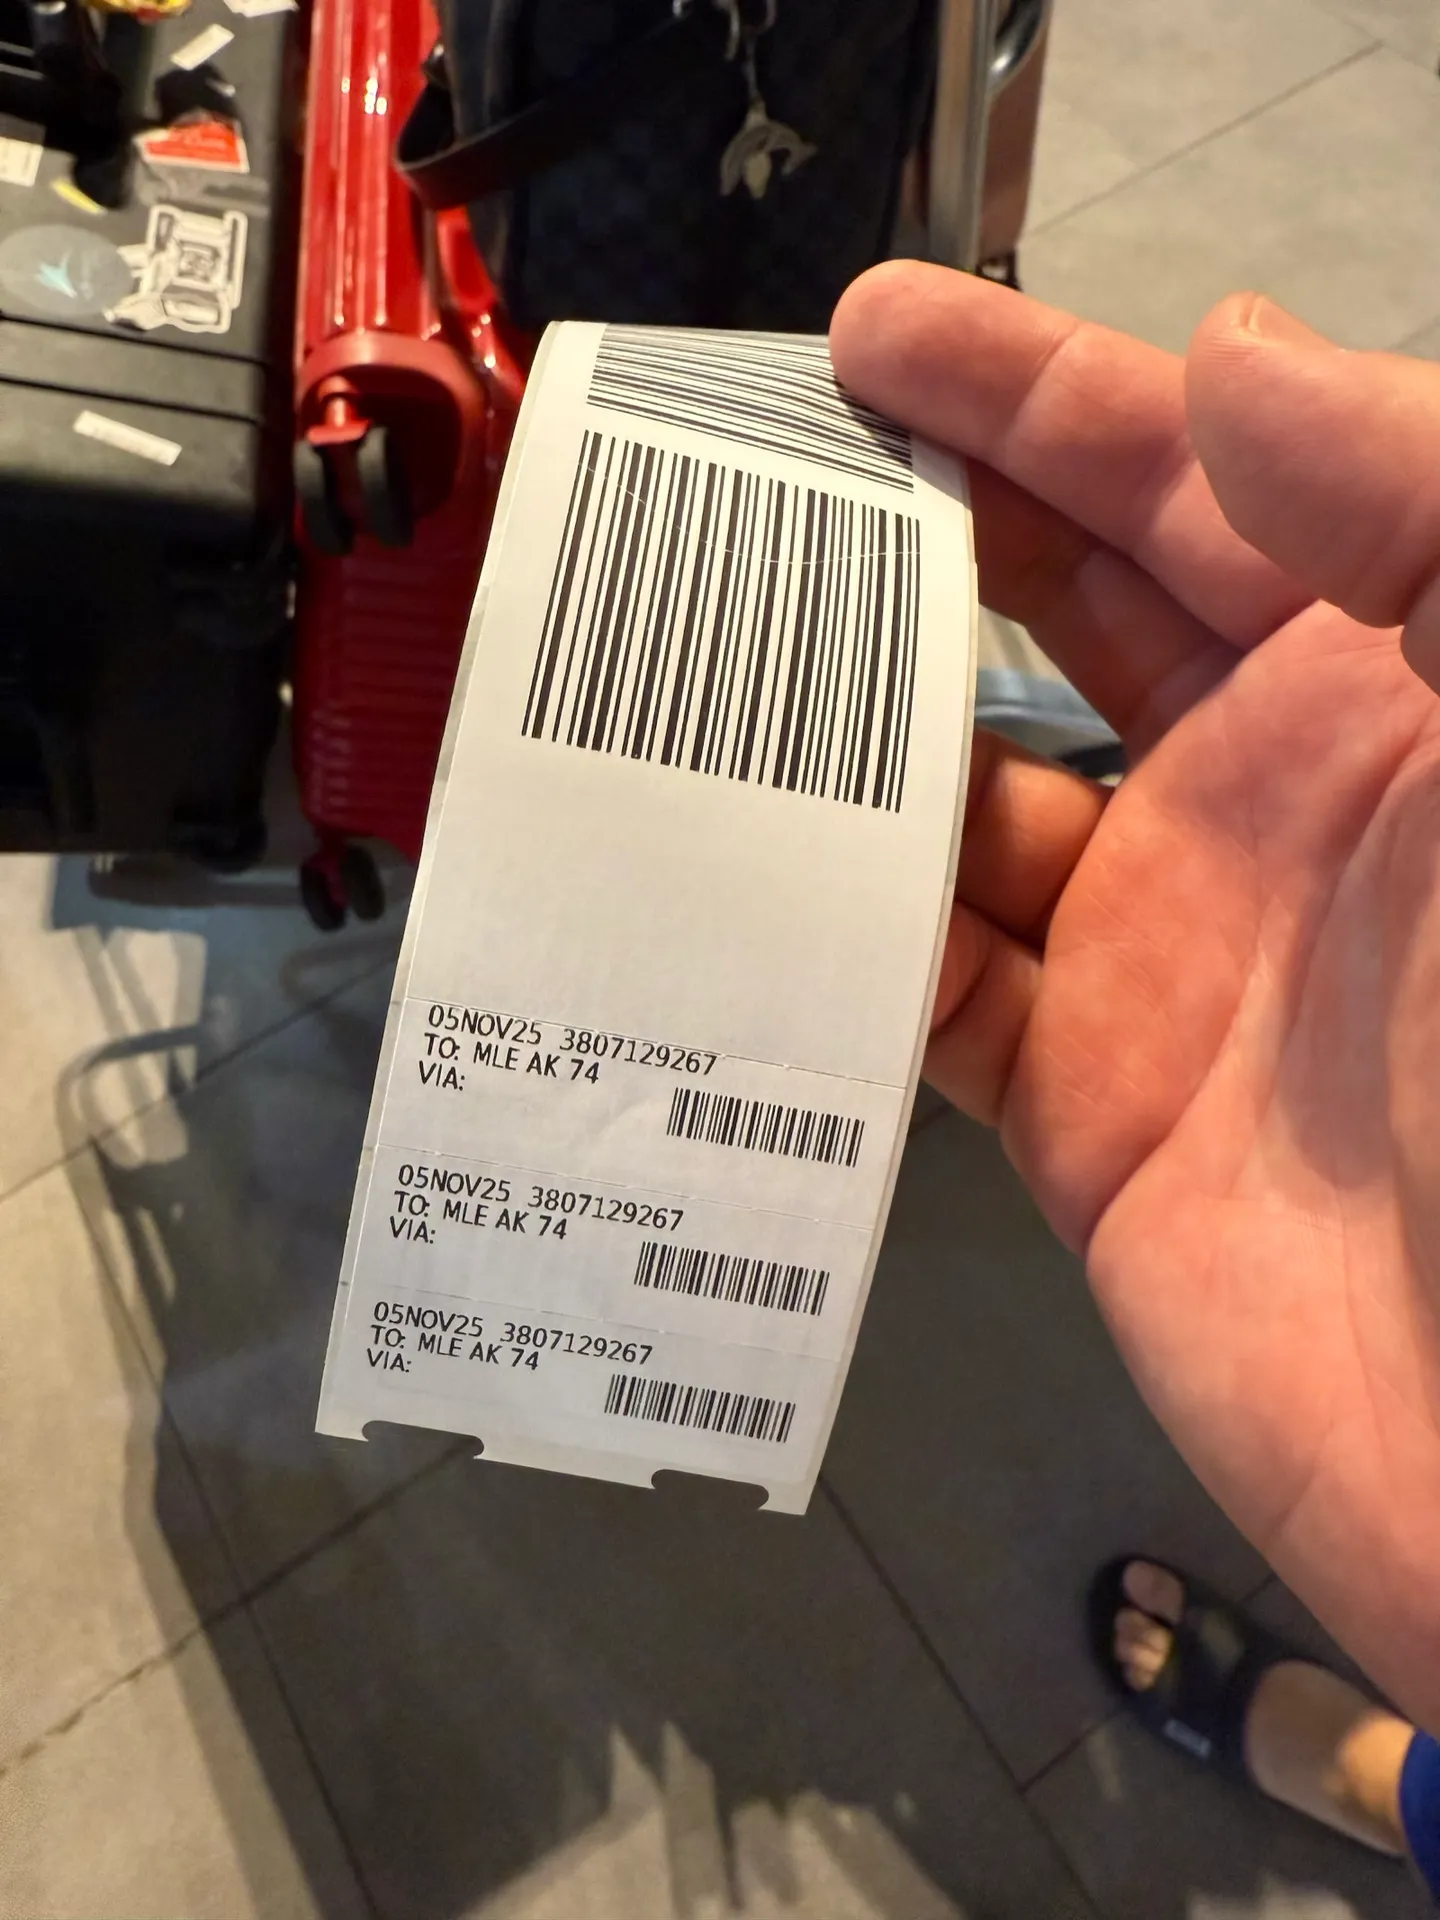
Always keep the baggage receipt stub — it's your proof in the event of lost luggage
The bottom of the bag tag sheet contains 3 identical barcode stickers:
- Attach one to the front and one to the side of your suitcase
- Attach one to the back of your boarding pass (the stub portion — the larger half)
Then loop the full bag tag around the luggage handle and press it firmly in place (to prevent it from falling off during handling).
Step 4: Self Bag Drop
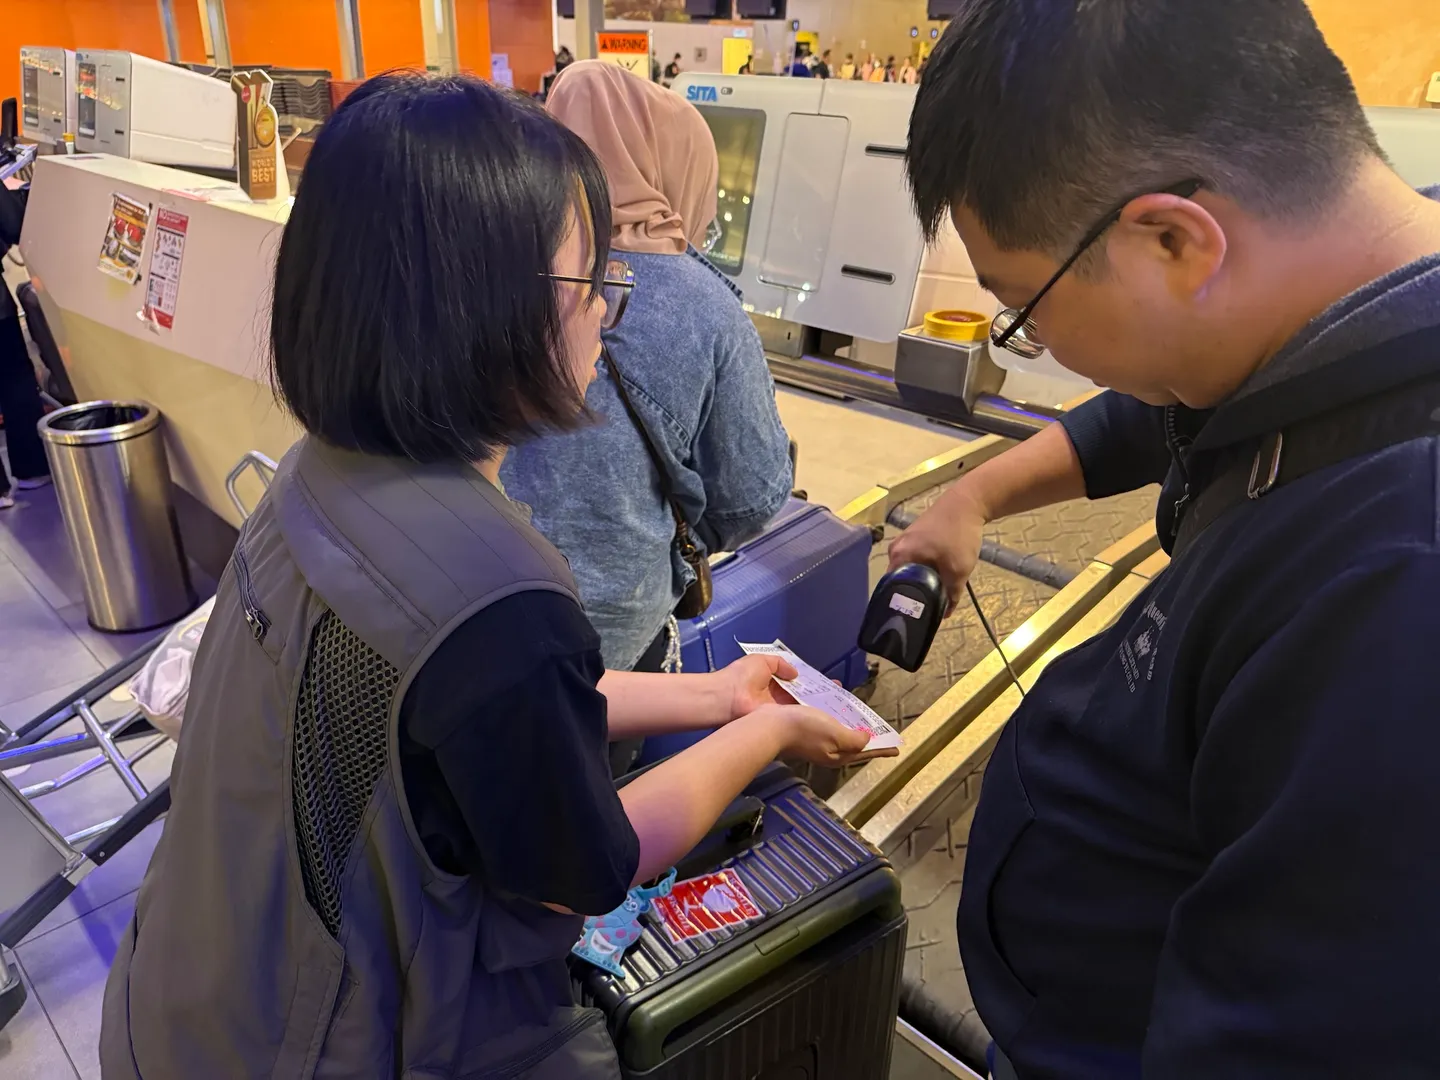
Place your bag on the conveyor belt, then scan the barcode
Near the Kiosks, you'll find clearly marked conveyor belts.
How it works:
- Place your bag on the conveyor belt
- Scan the barcode
- The machine will automatically weigh the bag, verify the bag tag, and indicate whether you're overweight
- If the weight is within limit → green light → the bag is automatically carried away on the belt. Drop-off complete!
⚠️ Tip: Weight limits are enforced very strictly
- AirAsia's machines will reject a bag that's even 0.5 kg overweight. Distribute your weight in advance.
- Many travelers get stuck at this step. If your transit time is short, make sure to allow plenty of extra time here.
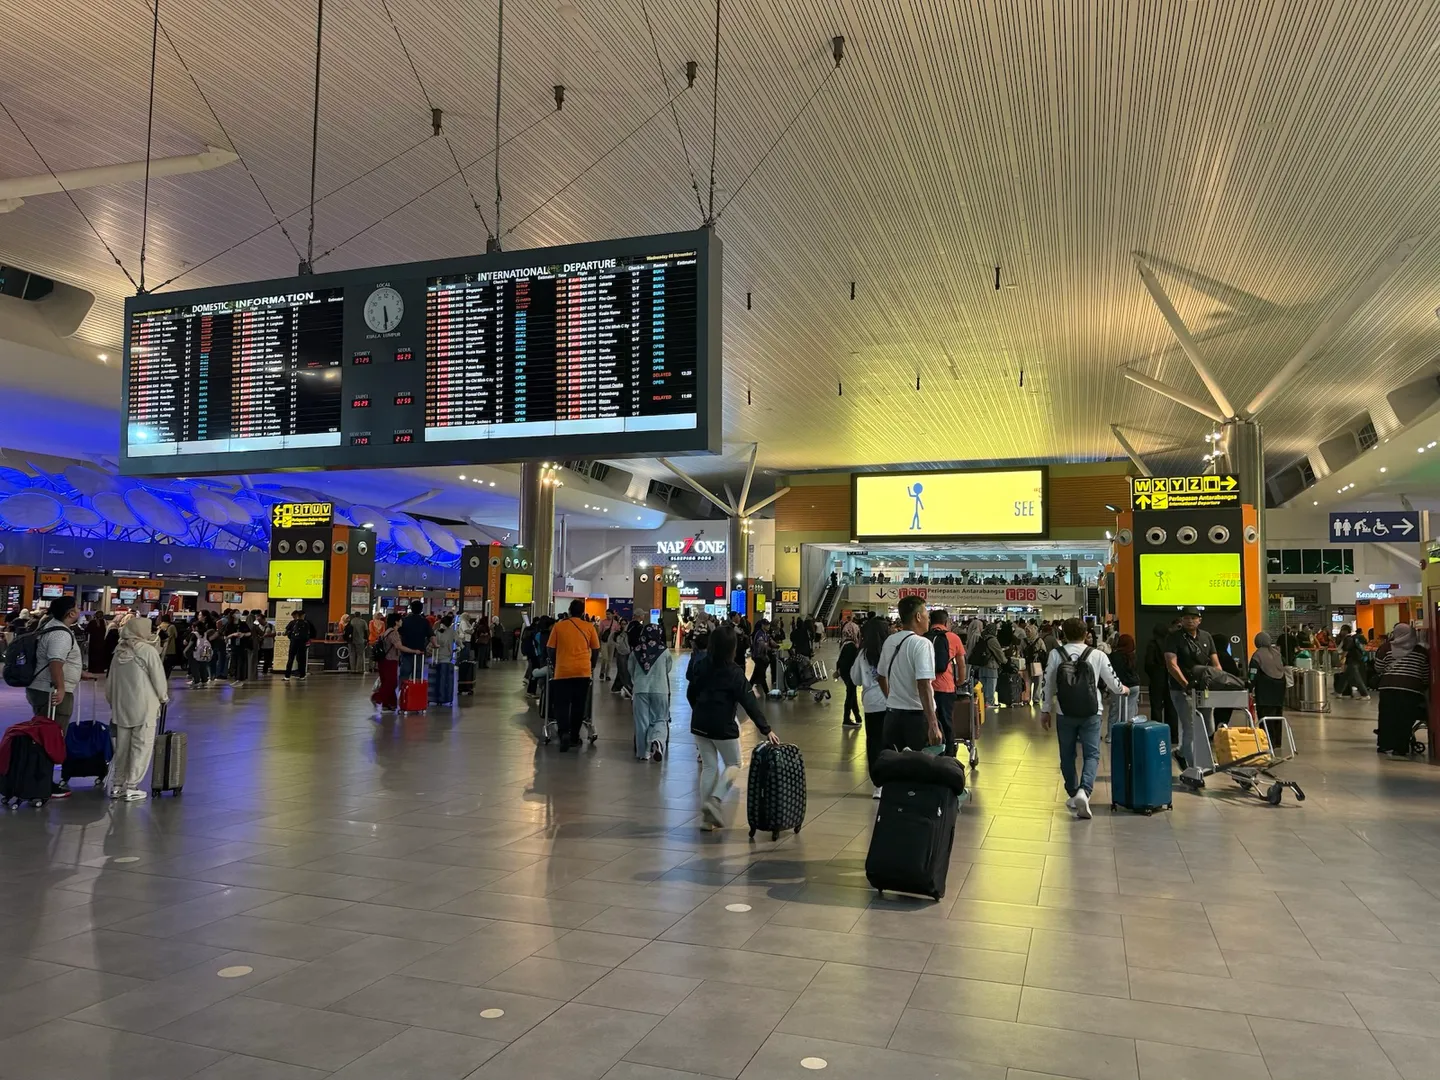
Step 5: Proceed to Security + Departure
Recommended time to allow: Regular transit: 2.5–3 hours; Peak season (if re-checking baggage): 3–4 hours.
Carry-on baggage (important):
Most passengers arriving at KLIA T2 are flying AirAsia, and AirAsia enforces its carry-on size and weight rules particularly strictly. Wheeled carry-on bags in particular will almost certainly be asked to be placed in the metal sizing frame for measurement, alongside a weight check, before clearing security. The carry-on limit for most fare types is 7 kg.

Pay close attention to the weight and dimensions of your carry-on
If you've purchased additional carry-on weight, make sure you have the relevant proof ready for ground staff to check.
If you're traveling to the Maldives for diving, drone footage is a must! The Editor brought a drone, scuba camera batteries, and various other pieces of equipment — all of which had to go in the carry-on, making it a classic "weight killer." Based on this experience, ground staff tend to focus their weight and size checks on wheeled carry-on bags rather than personal backpacks.
The Editor recommends: Bring an extra backpack to distribute the weight — it's far less likely to attract scrutiny.
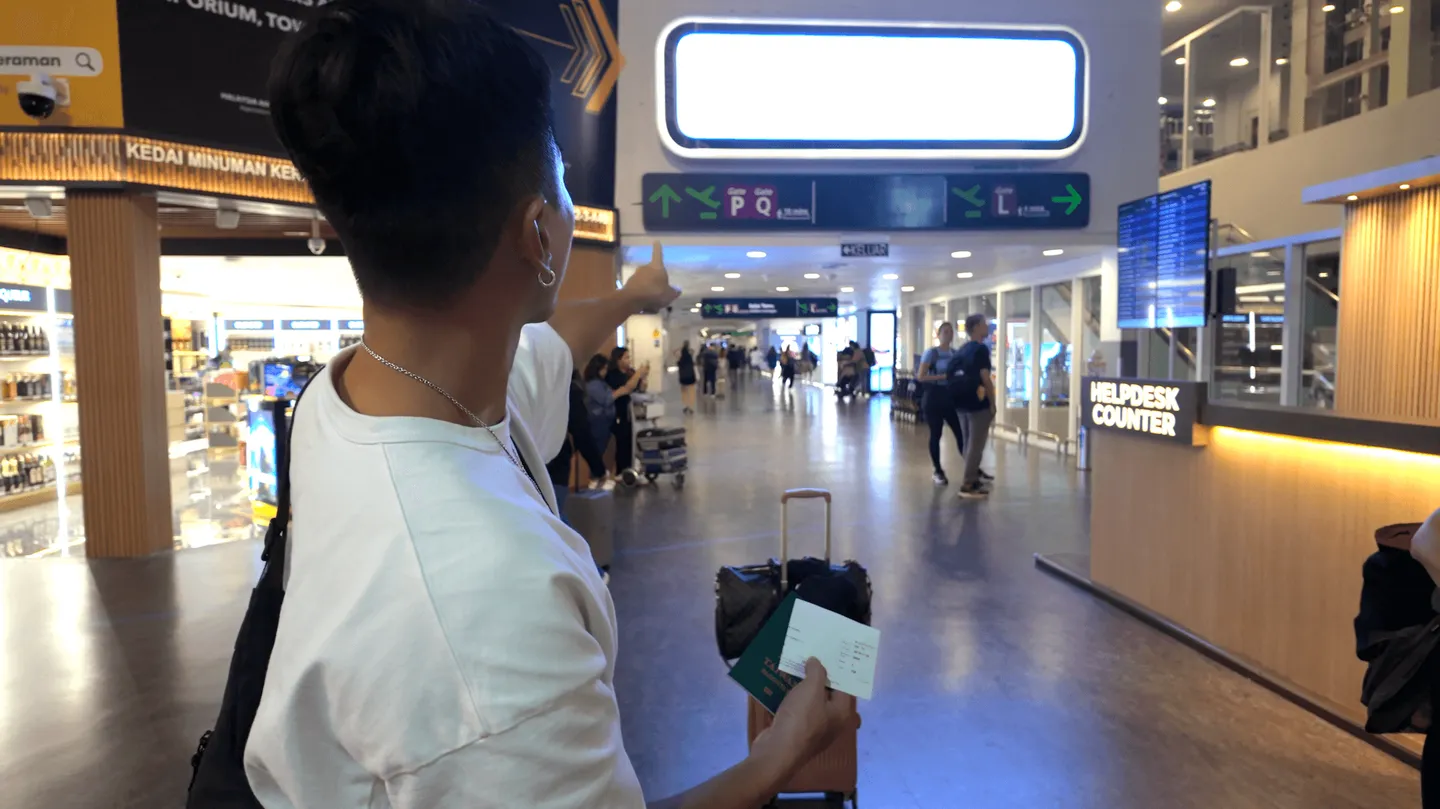
Terminal 2 is large — confirm your gate number, as there will be another security check at the gate. Allow enough time.
Speedboat Transfer Guide After Arriving in the Maldives: Getting to the Local Islands
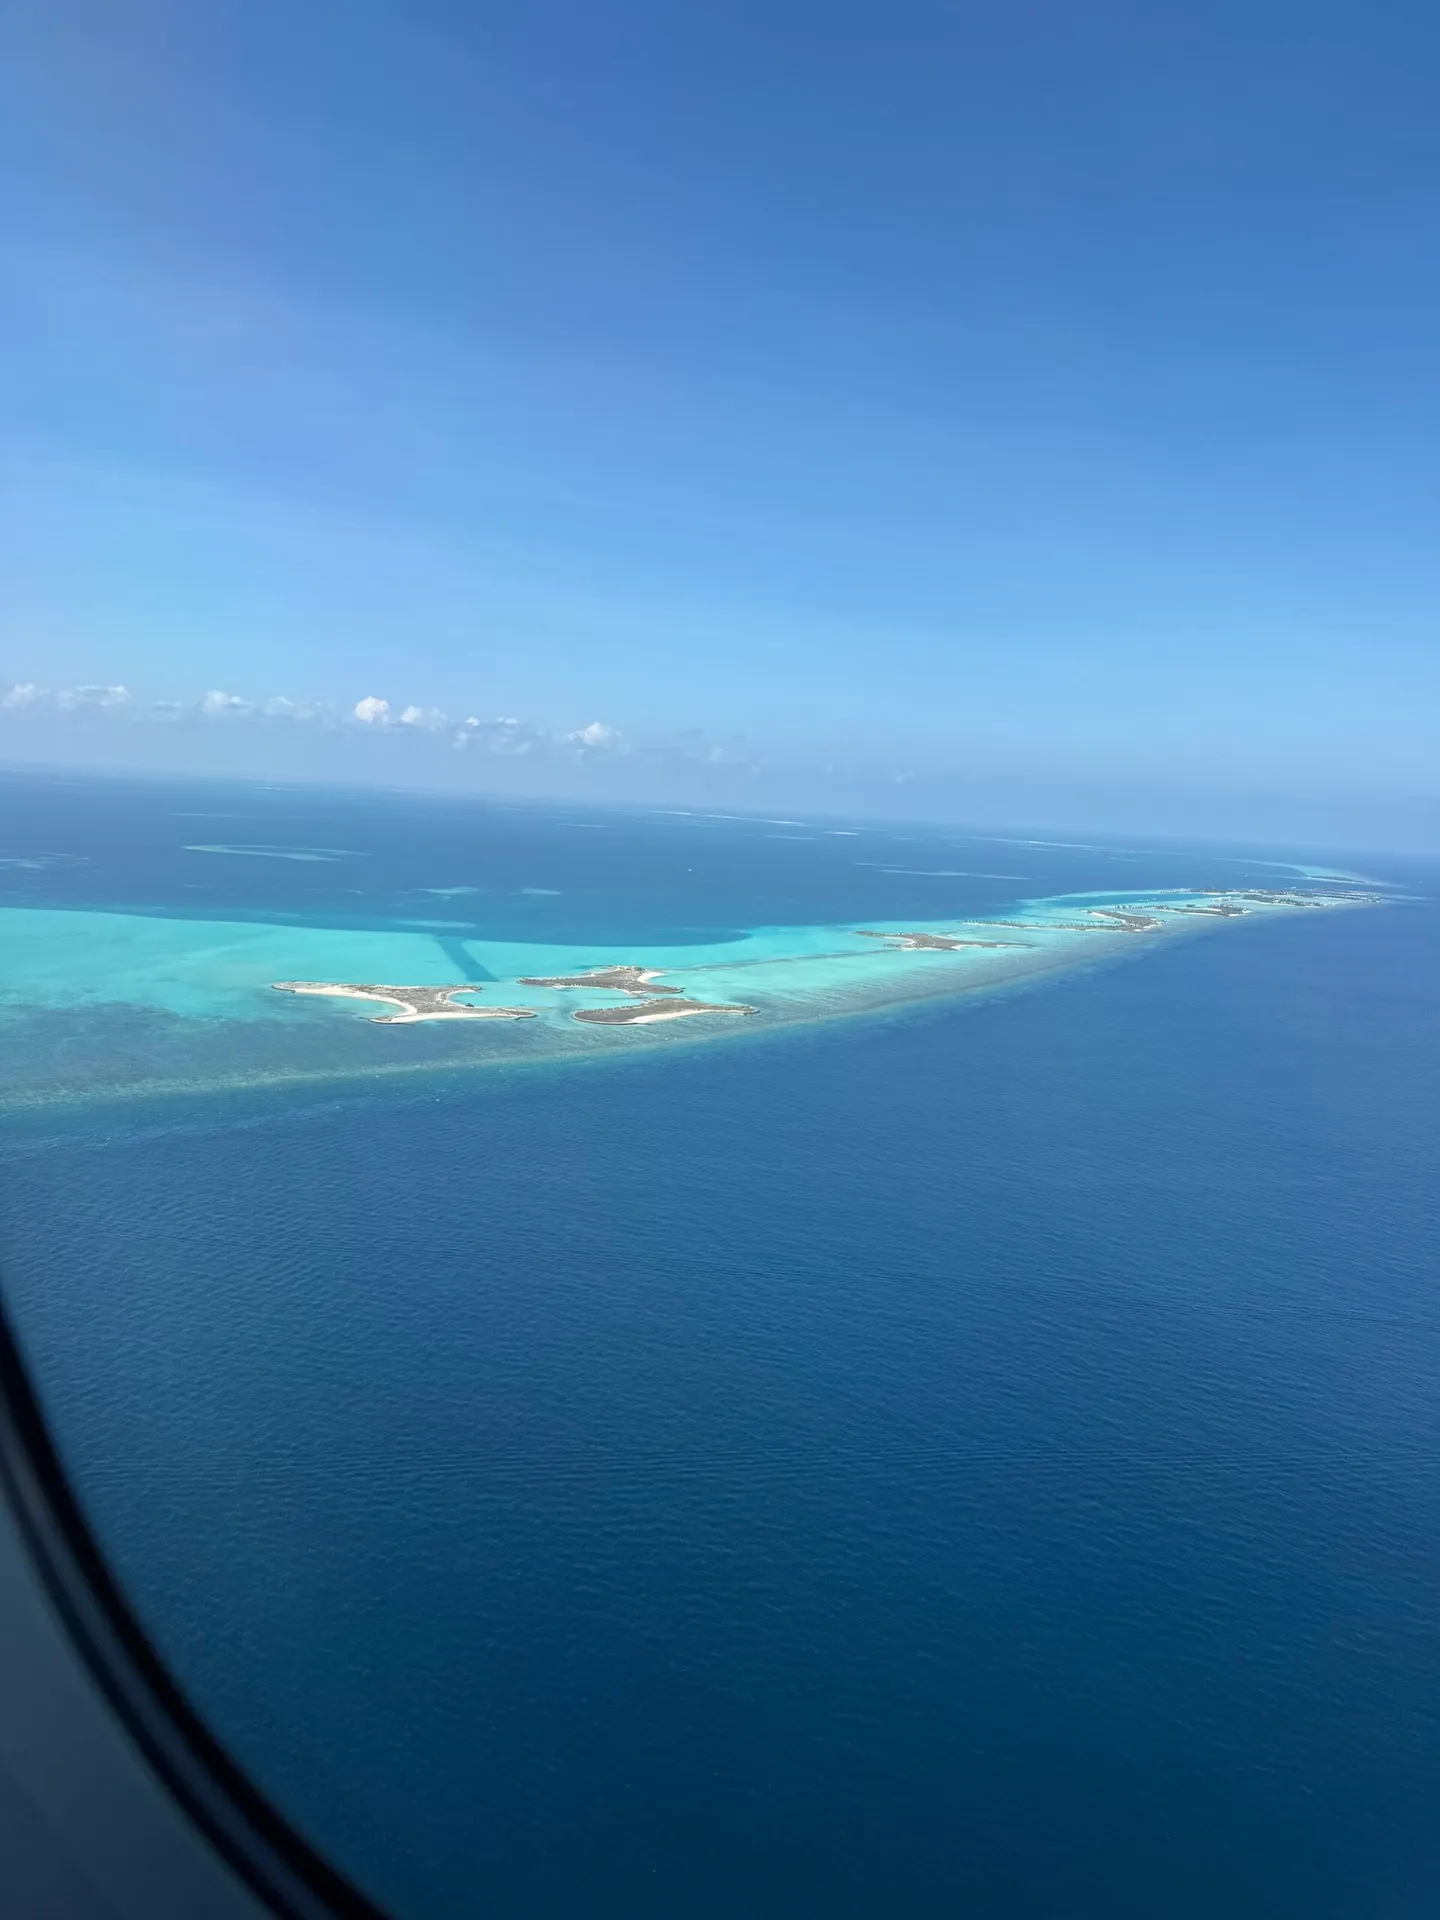
After a good sleep on the plane, we've finally arrived in beautiful Maldives
After arriving in the Maldives, travelers have several options: head into Malé city, or transfer by speedboat to a local island or liveaboard. This section focuses on the speedboat transfer to a local island.
You can visit the airport's passenger service center or download the "FollowMe Vessel Tracker" app to get ferry schedule information and board the correct transfer vessel. Do note, however, that the signage for vessel boarding points is not always clear, and locations may change.
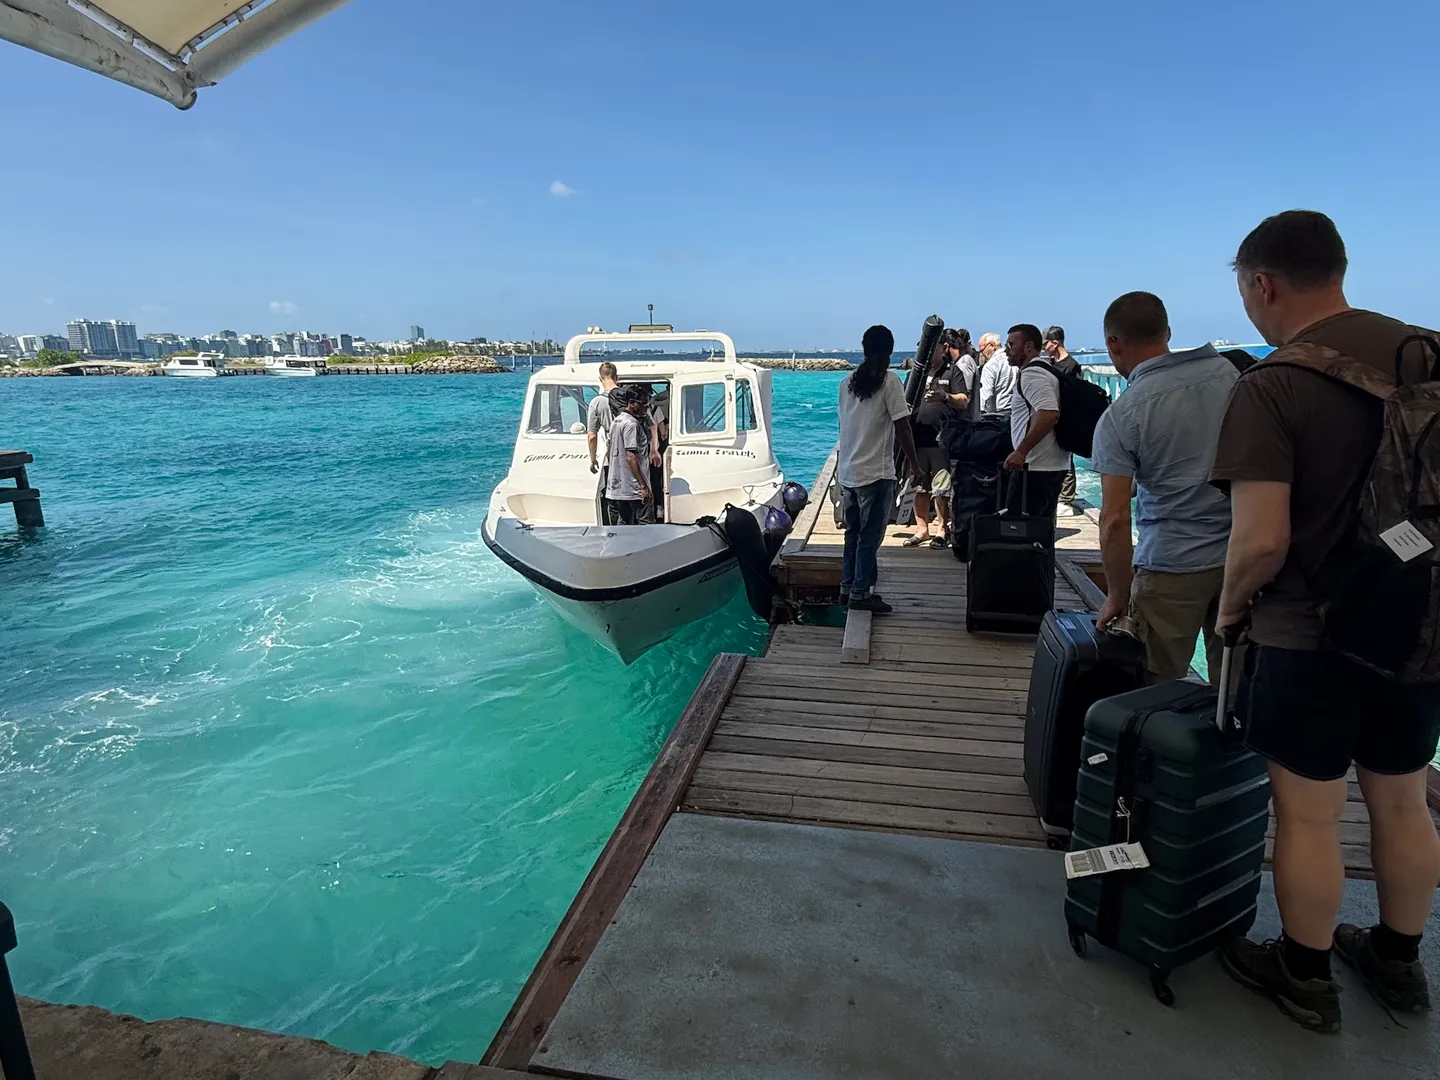
After exiting the airport, cross the road to reach the jetty. Make sure to confirm the berth location so you don't miss your boat.
For travelers on a trip arranged by BlueTrend, after arriving in the Maldives and clearing immigration, follow the corridor from T1 (the new terminal) toward T2 (the old terminal). Once you reach T2, you'll see a large area of resort service counters. Make your way to the C2 reception desk that we work with.
Show your passport, and the staff will guide you directly to the correct transfer boat — so you can arrive calmly and confidently without scrambling around in a panic trying to find the right vessel and missing your departure.

After clearing immigration, find the C2 counter in the old terminal for assistance
The Editor recommends: Independent travelers may want to consider having a travel agency arrange the transfer. While English is widely spoken locally, the accent can be quite strong — the Editor frequently ended up in a "heard but didn't understand" situation. Add to that the fact that boarding points for transfer boats aren't fixed, and having to drag your luggage around searching for them after a long-haul flight is genuinely exhausting.
Frequently Asked Questions
How is a BlueTrend dive trip different from a regular travel-agency dive tour?
Are there certification (C-card) level or logged-dive requirements to join a BlueTrend overseas dive trip?
Can I join as a solo diver? How is room arrangement handled?
Does the trip fee include dive insurance, gear rental, flights or instructor tips?